Setup
Team Member Onboarding: Web App
Learn the Vigilant web app in your browser. Find your shifts, respond and volunteer, check out equipment, attend training, read procedures and BOLOs, report incidents, and use resources and Chat.
Welcome to the Vigilant web app
Team member onboarding in your browser
Open this section in the web app
Activate your account
- Open the invitation from your church.
- Select Accept invitation.
- Sign in with your existing account, or complete the password setup.
- Confirm that you joined the correct church. Ask your lead for a new invitation if yours expired.
Find your way around
One place for each part of your shift
Web navigation
Use the left sidebar on a computer. In a phone browser, tap the menu button at the upper left. The profile menu opens account settings and support. The bell opens notifications.
Section directory
- Dashboard - Your shift and recent activity.
- Schedules - Assignments, responses, and volunteering.
- Equipment - Checkouts and returns.
- Trainings & Certifications - Training responses and learning materials.
- Procedures - Team procedures and documents.
- Incidents - Review and create reports.
- BOLO - Current alerts.
- Resource Library - Videos, documents, and links.
- Chat - Team conversations.
- Checklists - Repeatable shift tasks.
- Team - Member directory.
- Team Notices - Announcements.
- Campus Maps - Plans and map points.
- Settings - Contact details and preferences.
Start with Dashboard
Check the current picture before your shift
Open this section in the web app
Steps
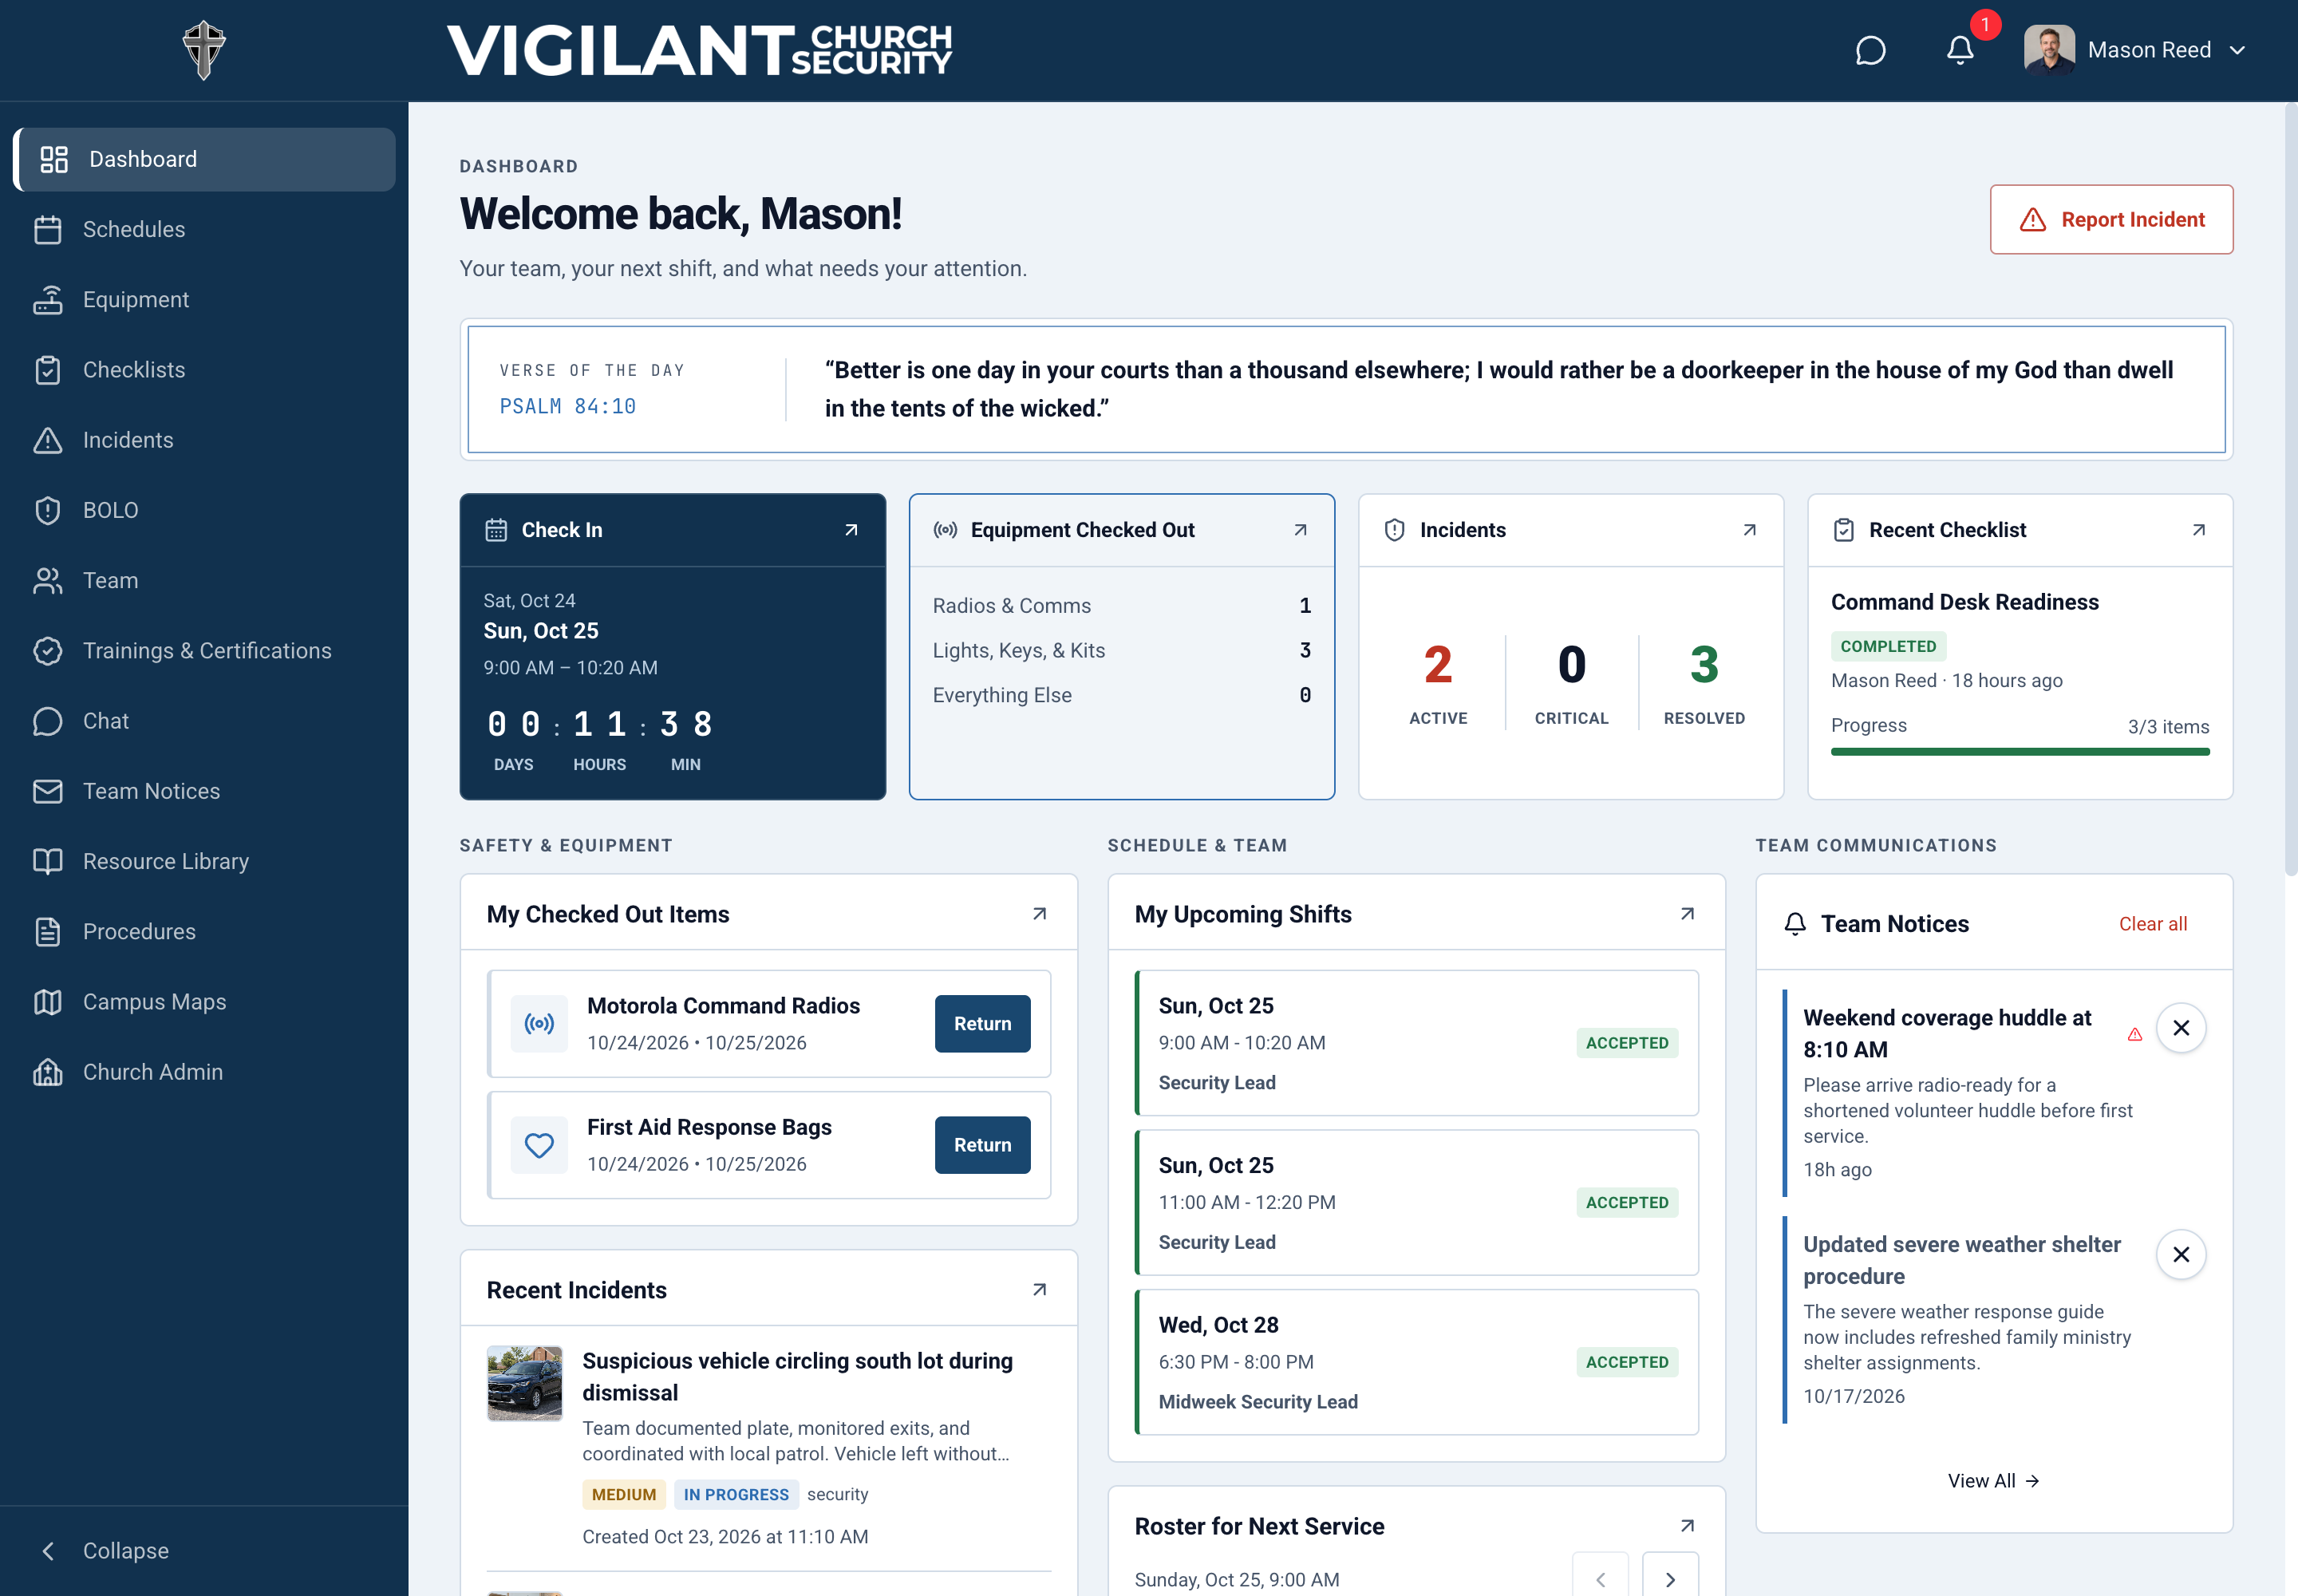
- Open Dashboard.
- Check the church and campus, if a selector appears.
- Review My Upcoming Shifts, checked-out equipment, and recent activity.
- Open the relevant section for the full record.
Check in when you arrive
Use Check In when your shift card enables it. Confirm the updated state. Use the offered check-out or completion action when your shift ends. These controls depend on the shift time and your access.
Accepting a shift
Accepting a shift confirms that you plan to serve. Checking in records your arrival. Checking equipment in records a return. These are separate actions.
Before each shift
Review your assignment, active BOLOs, Team Notices, and the relevant procedures. Check the equipment and radio channel your team uses.

Check and respond to your schedule
Accept a shift or report that you cannot attend
Open this section in the web app
Find the right assignment
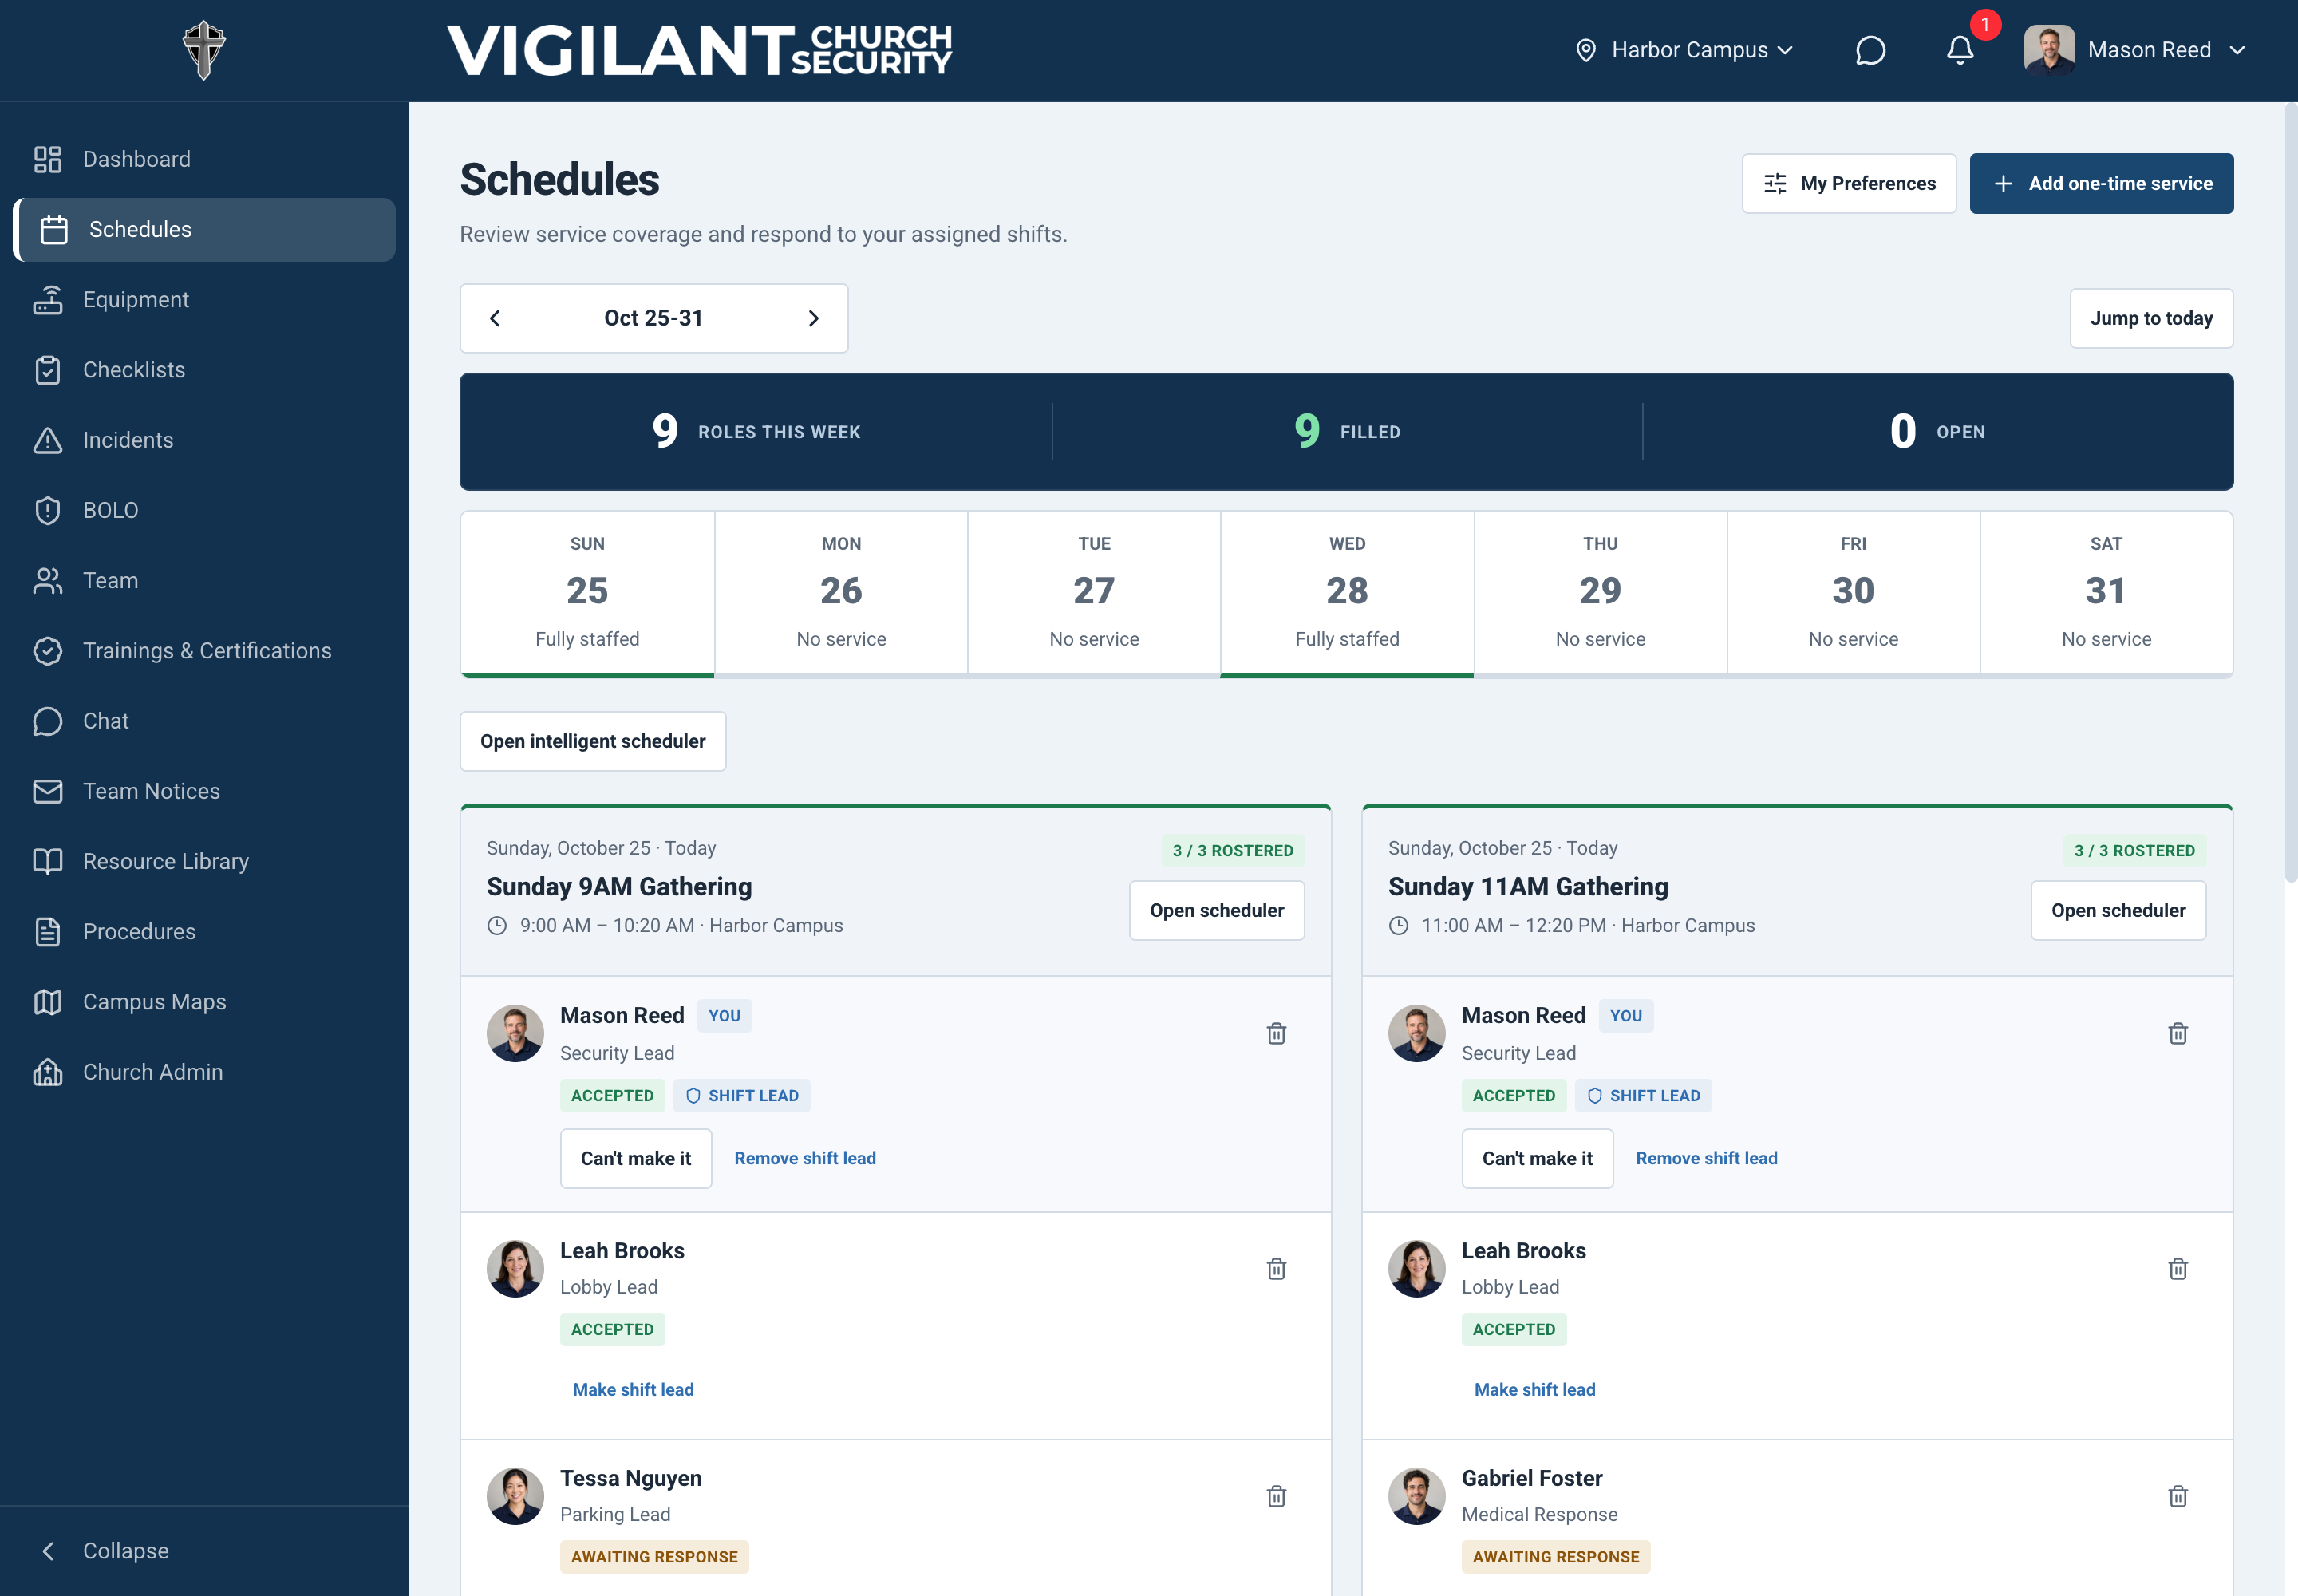
- Open Schedules and check the campus.
- Use the week arrows to reach the date. Jump to today returns to the current period.
- Select the service day if the view is filtered.
- Find your name, marked You, within the service card. Confirm the date, time, campus, and role.
Accept or decline
Select Accept shift to confirm. Select Can't make it to decline. Complete a confirmation if one appears. Wait for the status to change, then reopen the schedule to check it.
Pending / No response means you still need to respond. Accepted confirms your availability. Unavailable / Declined means you cannot attend. Open describes a position needing coverage. If your plans change after acceptance, update your response and contact your lead promptly.

Volunteer and set availability
Request an open shift and prevent future conflicts
Open this section in the web app
Volunteer for an open shift
- Open Schedules.
- Find the service date and campus.
- Review the service time and open positions.
- Select Volunteer for this service.
- Wait for the request confirmation.
A pending volunteer request is not an assignment. Look for the pending-approval message on the service. Recheck your schedule after a decision. Confirm that the assignment appears, then accept it if a response is still required. Contact your lead for an update.
Set future availability
On web, open My Preferences. Save recurring choices with Save Preferences. Under Block Out Dates, enter the start date, end date, and optional reason. Select Add Block Out Dates.
Existing shifts and external schedules
Block-out dates do not replace a response to an existing shift. Decline that shift separately. For services marked Managed in Planning Center, follow your church's Planning Center process. Ask your scheduler if the expected action is unavailable.
Check out and return equipment
Open this section in the web app
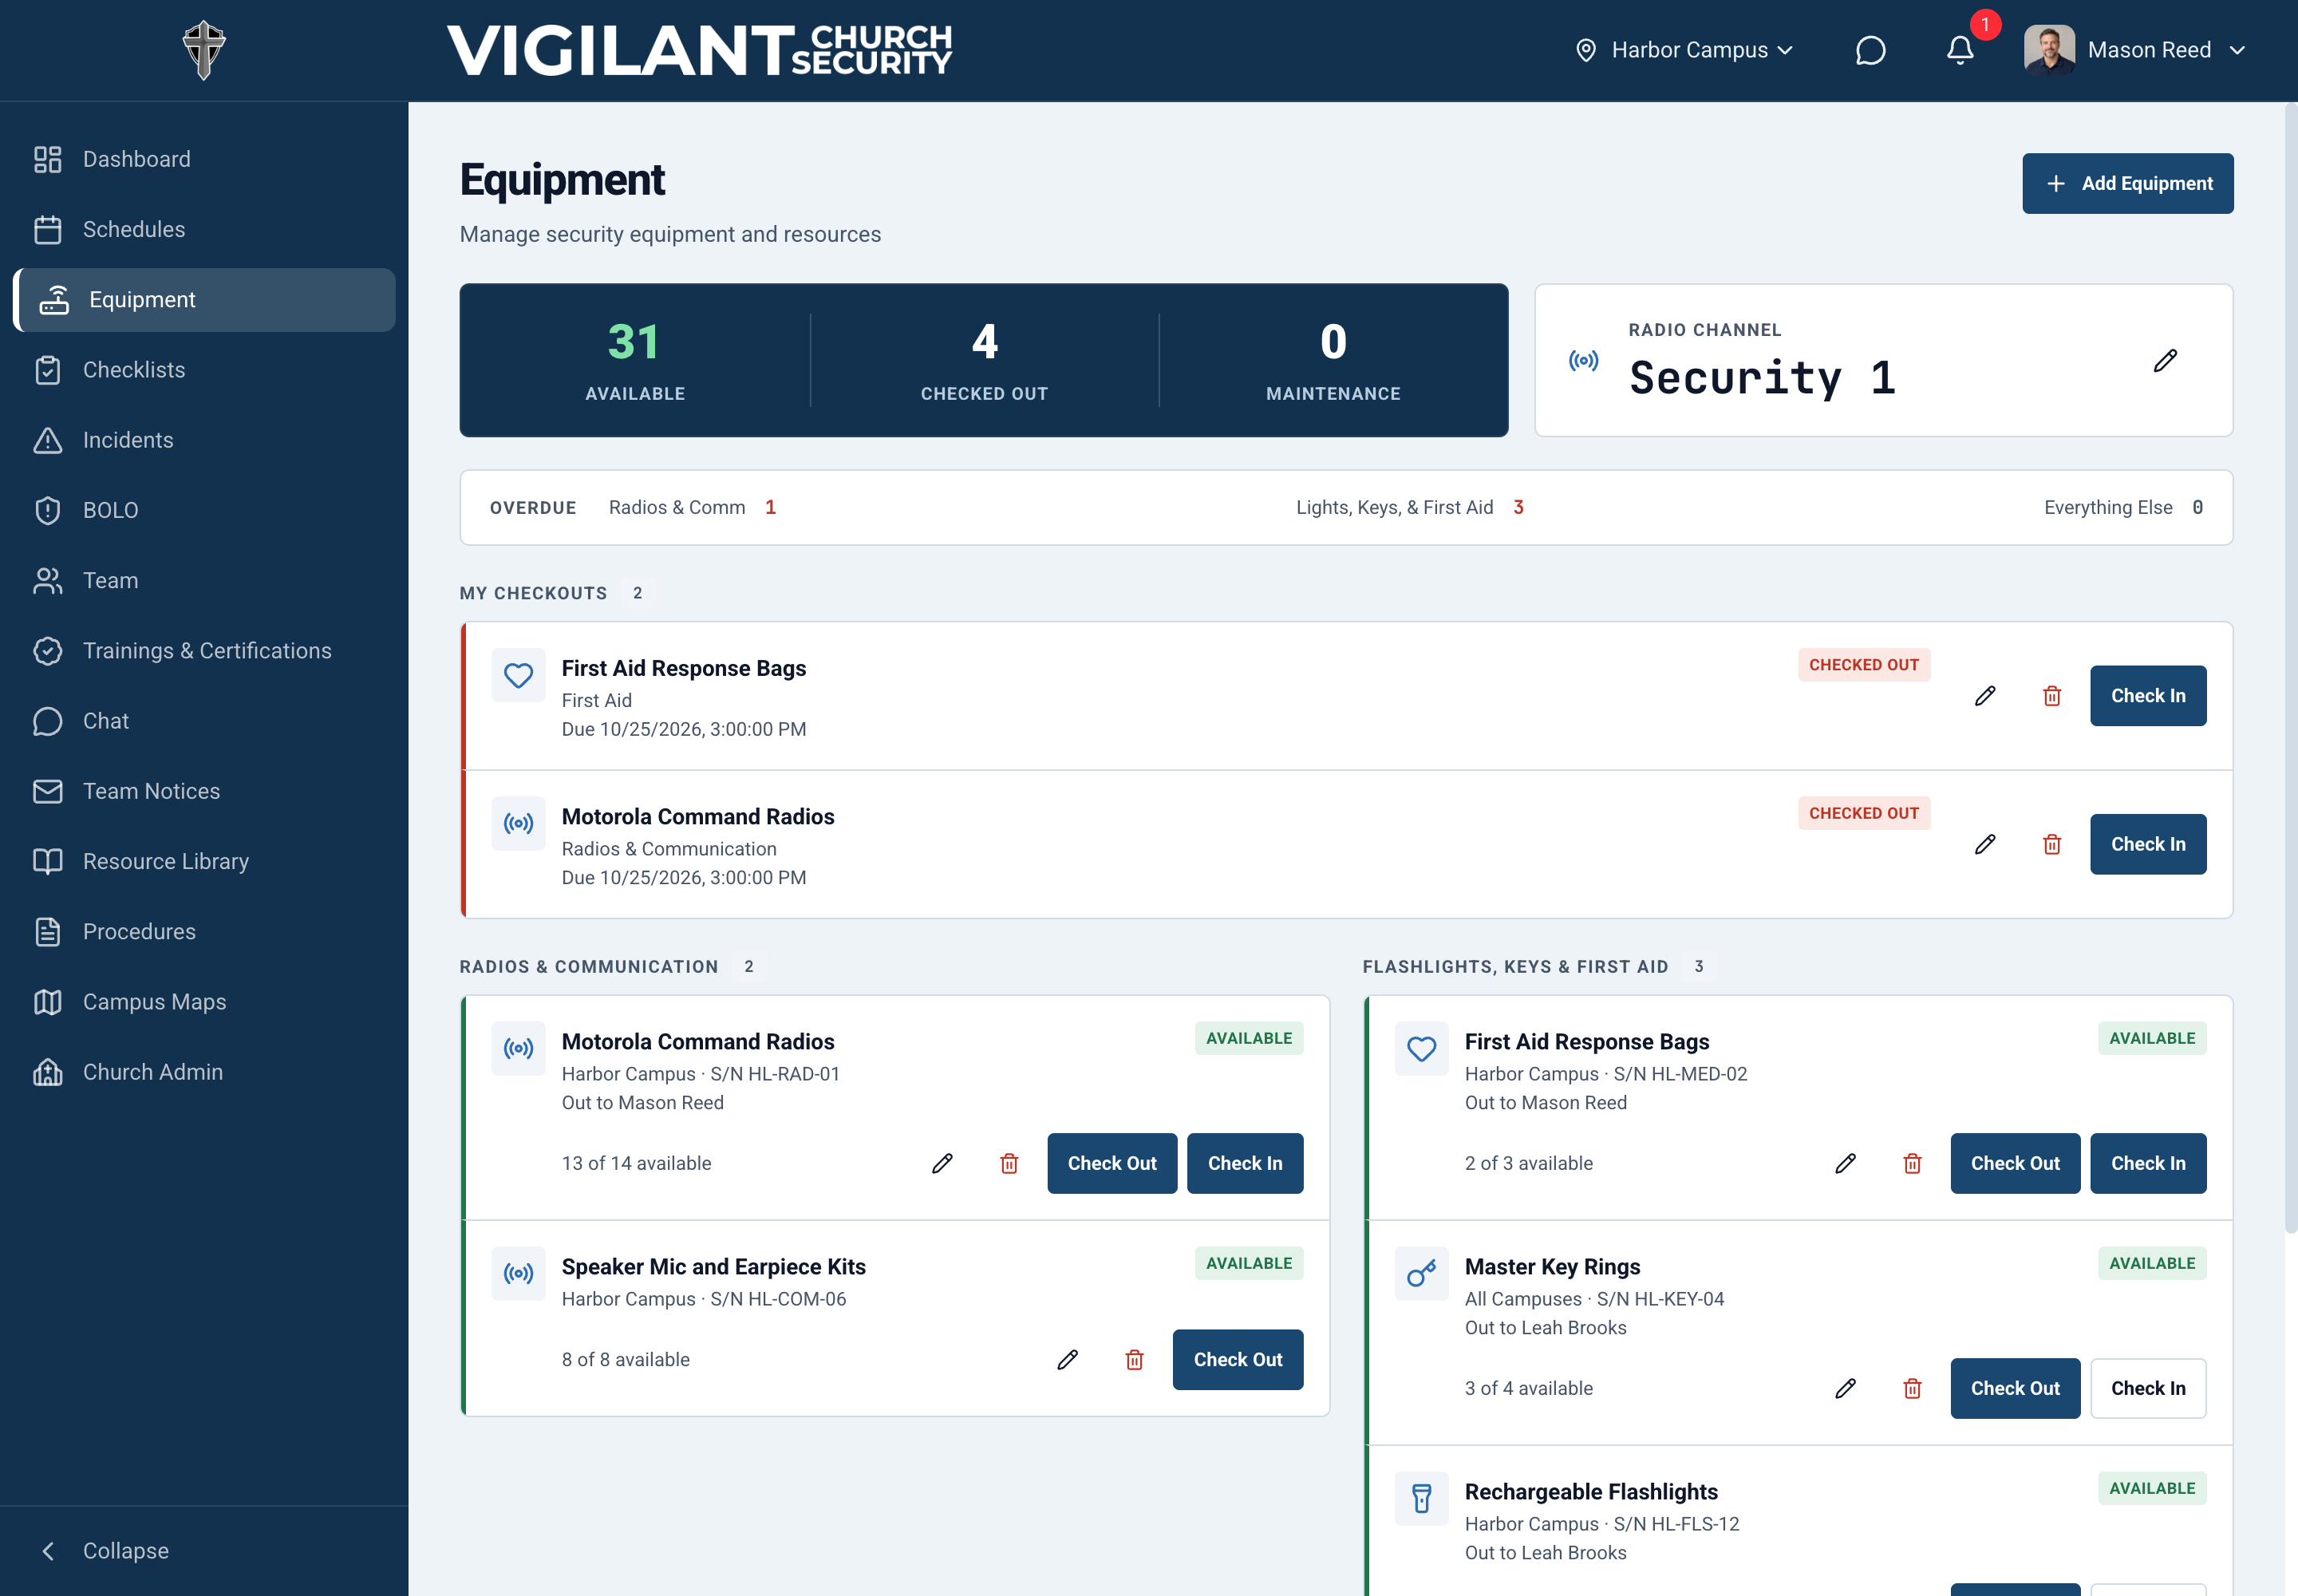
- Open Equipment and check the campus.
- Find the item and confirm that units are available.
- Select Check Out.
- Add an expected return date/time and notes, if useful.
- Select Check Out in the dialog. Confirm the item appears under My checkouts.
Return equipment
Find your item under My checkouts or open Details. Select Check In. If several checkouts appear, select your exact checkout. Choose Good, Damaged, or Lost, and add relevant notes. Select Check In. Confirm the active checkout is removed or shown as returned.
Before you leave
Return the physical item to the agreed location. Report damage or loss to your lead. Check the saved record before repeating an action after an error. Do not check in another member's item unless your team authorizes it.

Sign up for training
Open this section in the web app
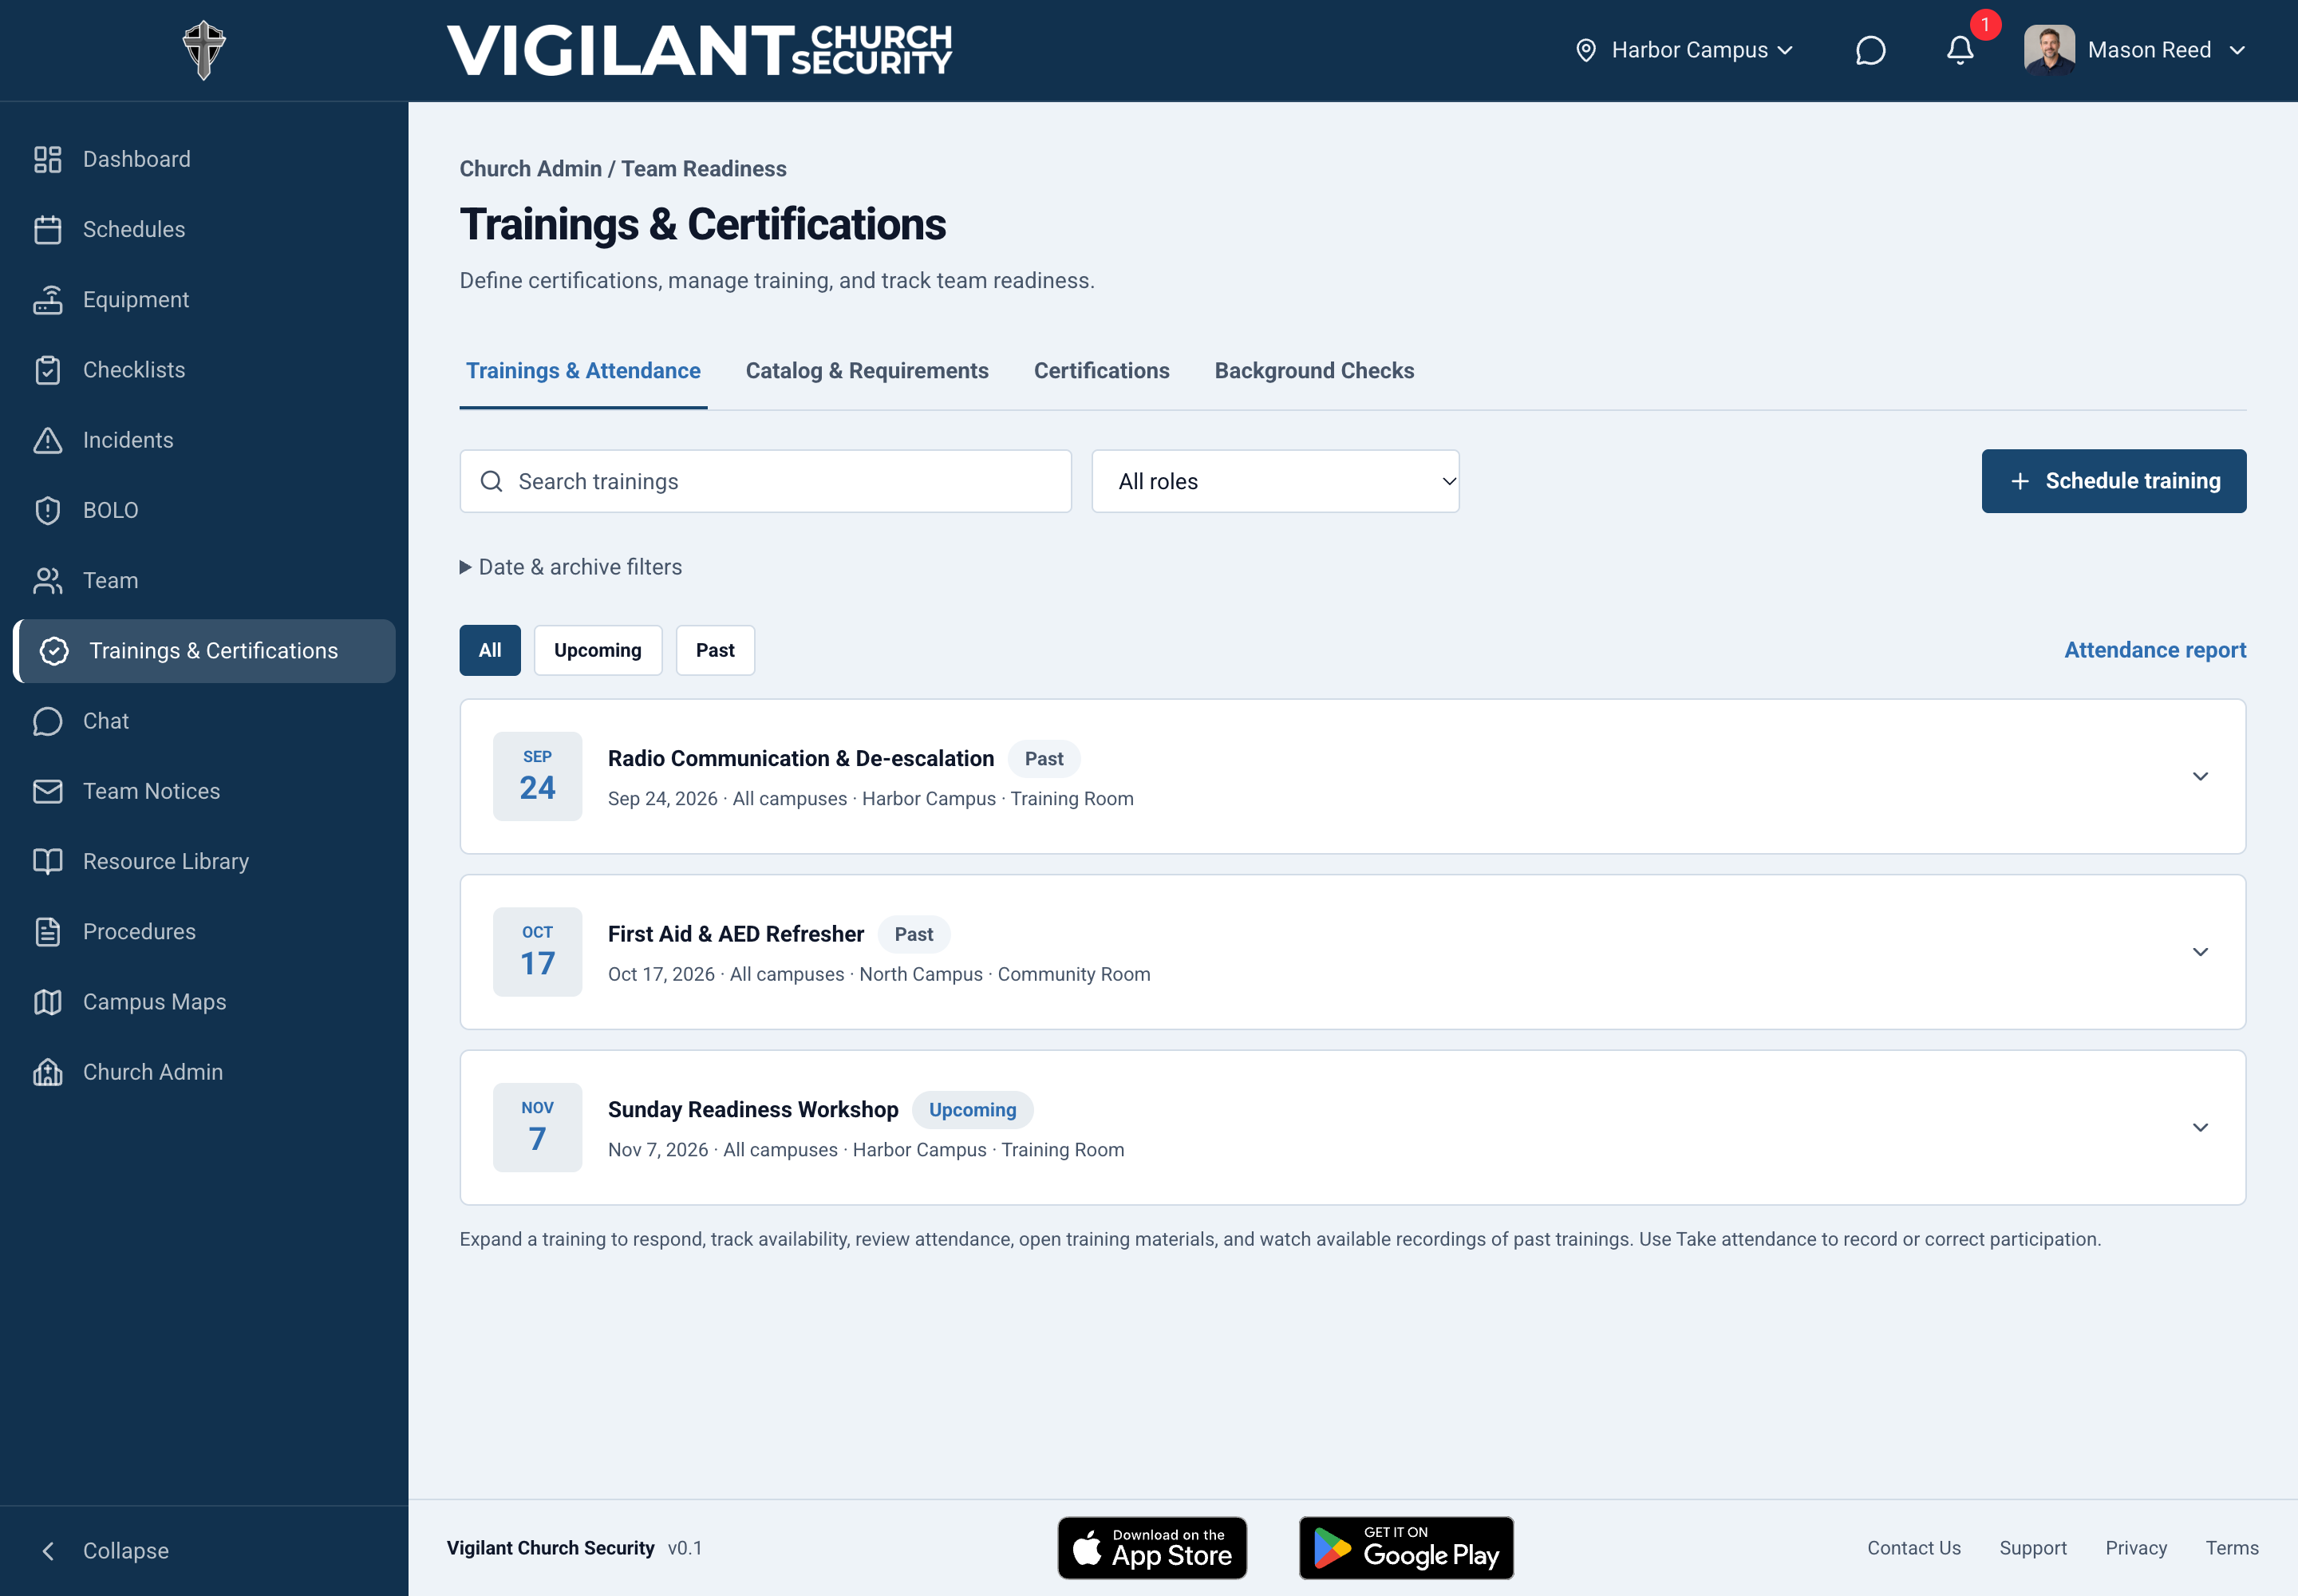
- Open Trainings & Certifications.
- Select Trainings & Attendance.
- Open the event.
- Check the date, start time, timezone, location, and description.
- Under Your response, select Yes, Maybe, or No.
- Wait for saving to finish. Reopen the event to confirm your response.
Open attached files, materials, or a recording when provided. Check the event again if its date or time changes. A schedule change can require a new response.
Read the event's message. Responses can be closed after the start, for canceled events, or when you are not an expected attendee. Date-only events can also lack response controls. Ask the organizer about eligibility.
A Yes response records your plan. It does not record attendance or award a certification. Your training organizer maintains those records. The web address contains “church-admin,” but the member-facing training section depends on your training access.

Review procedures
Open this section in the web app
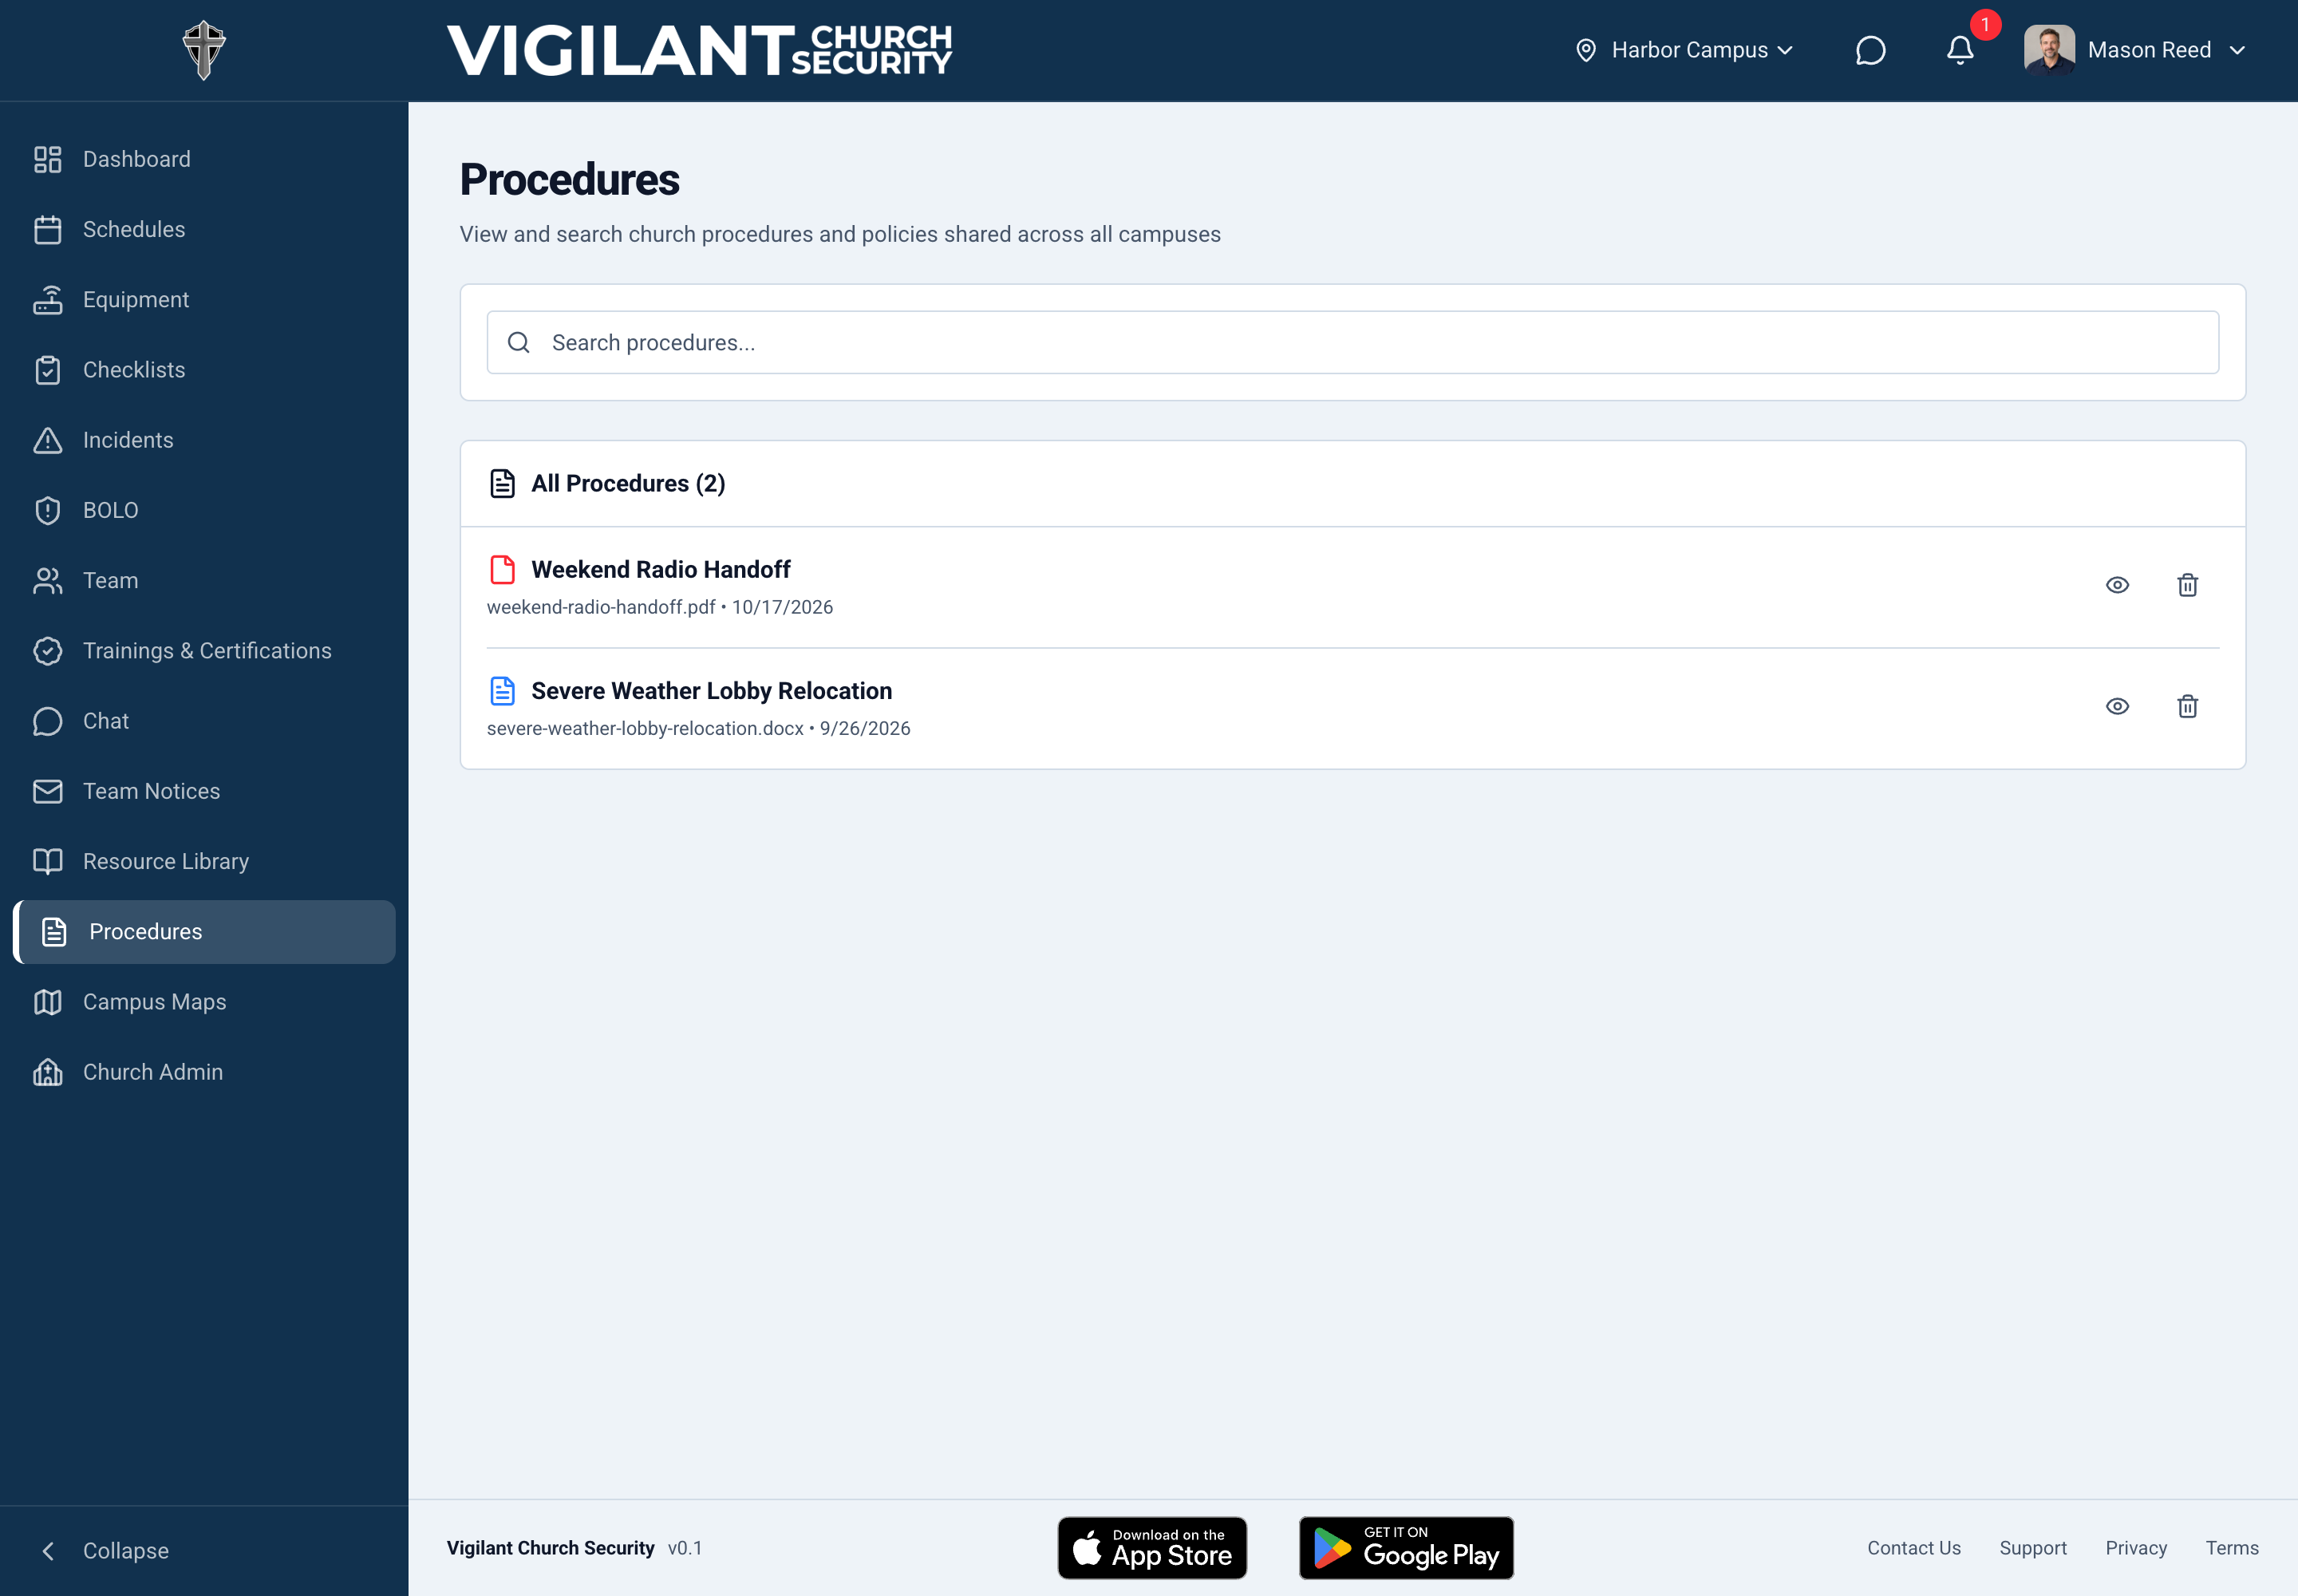
- Open Procedures.
- Enter a title or topic in the search field.
- Select the procedure.
- Confirm that its title and scope match your task.
- Read the document. Use Contents to jump to a heading when available.
Open the procedure in the platform when you need it. An old downloaded or printed copy can be out of date. If a procedure is missing or unclear, ask your lead. Report unreadable text or missing sections before relying on the document.

Review incident reports
Open this section in the web app
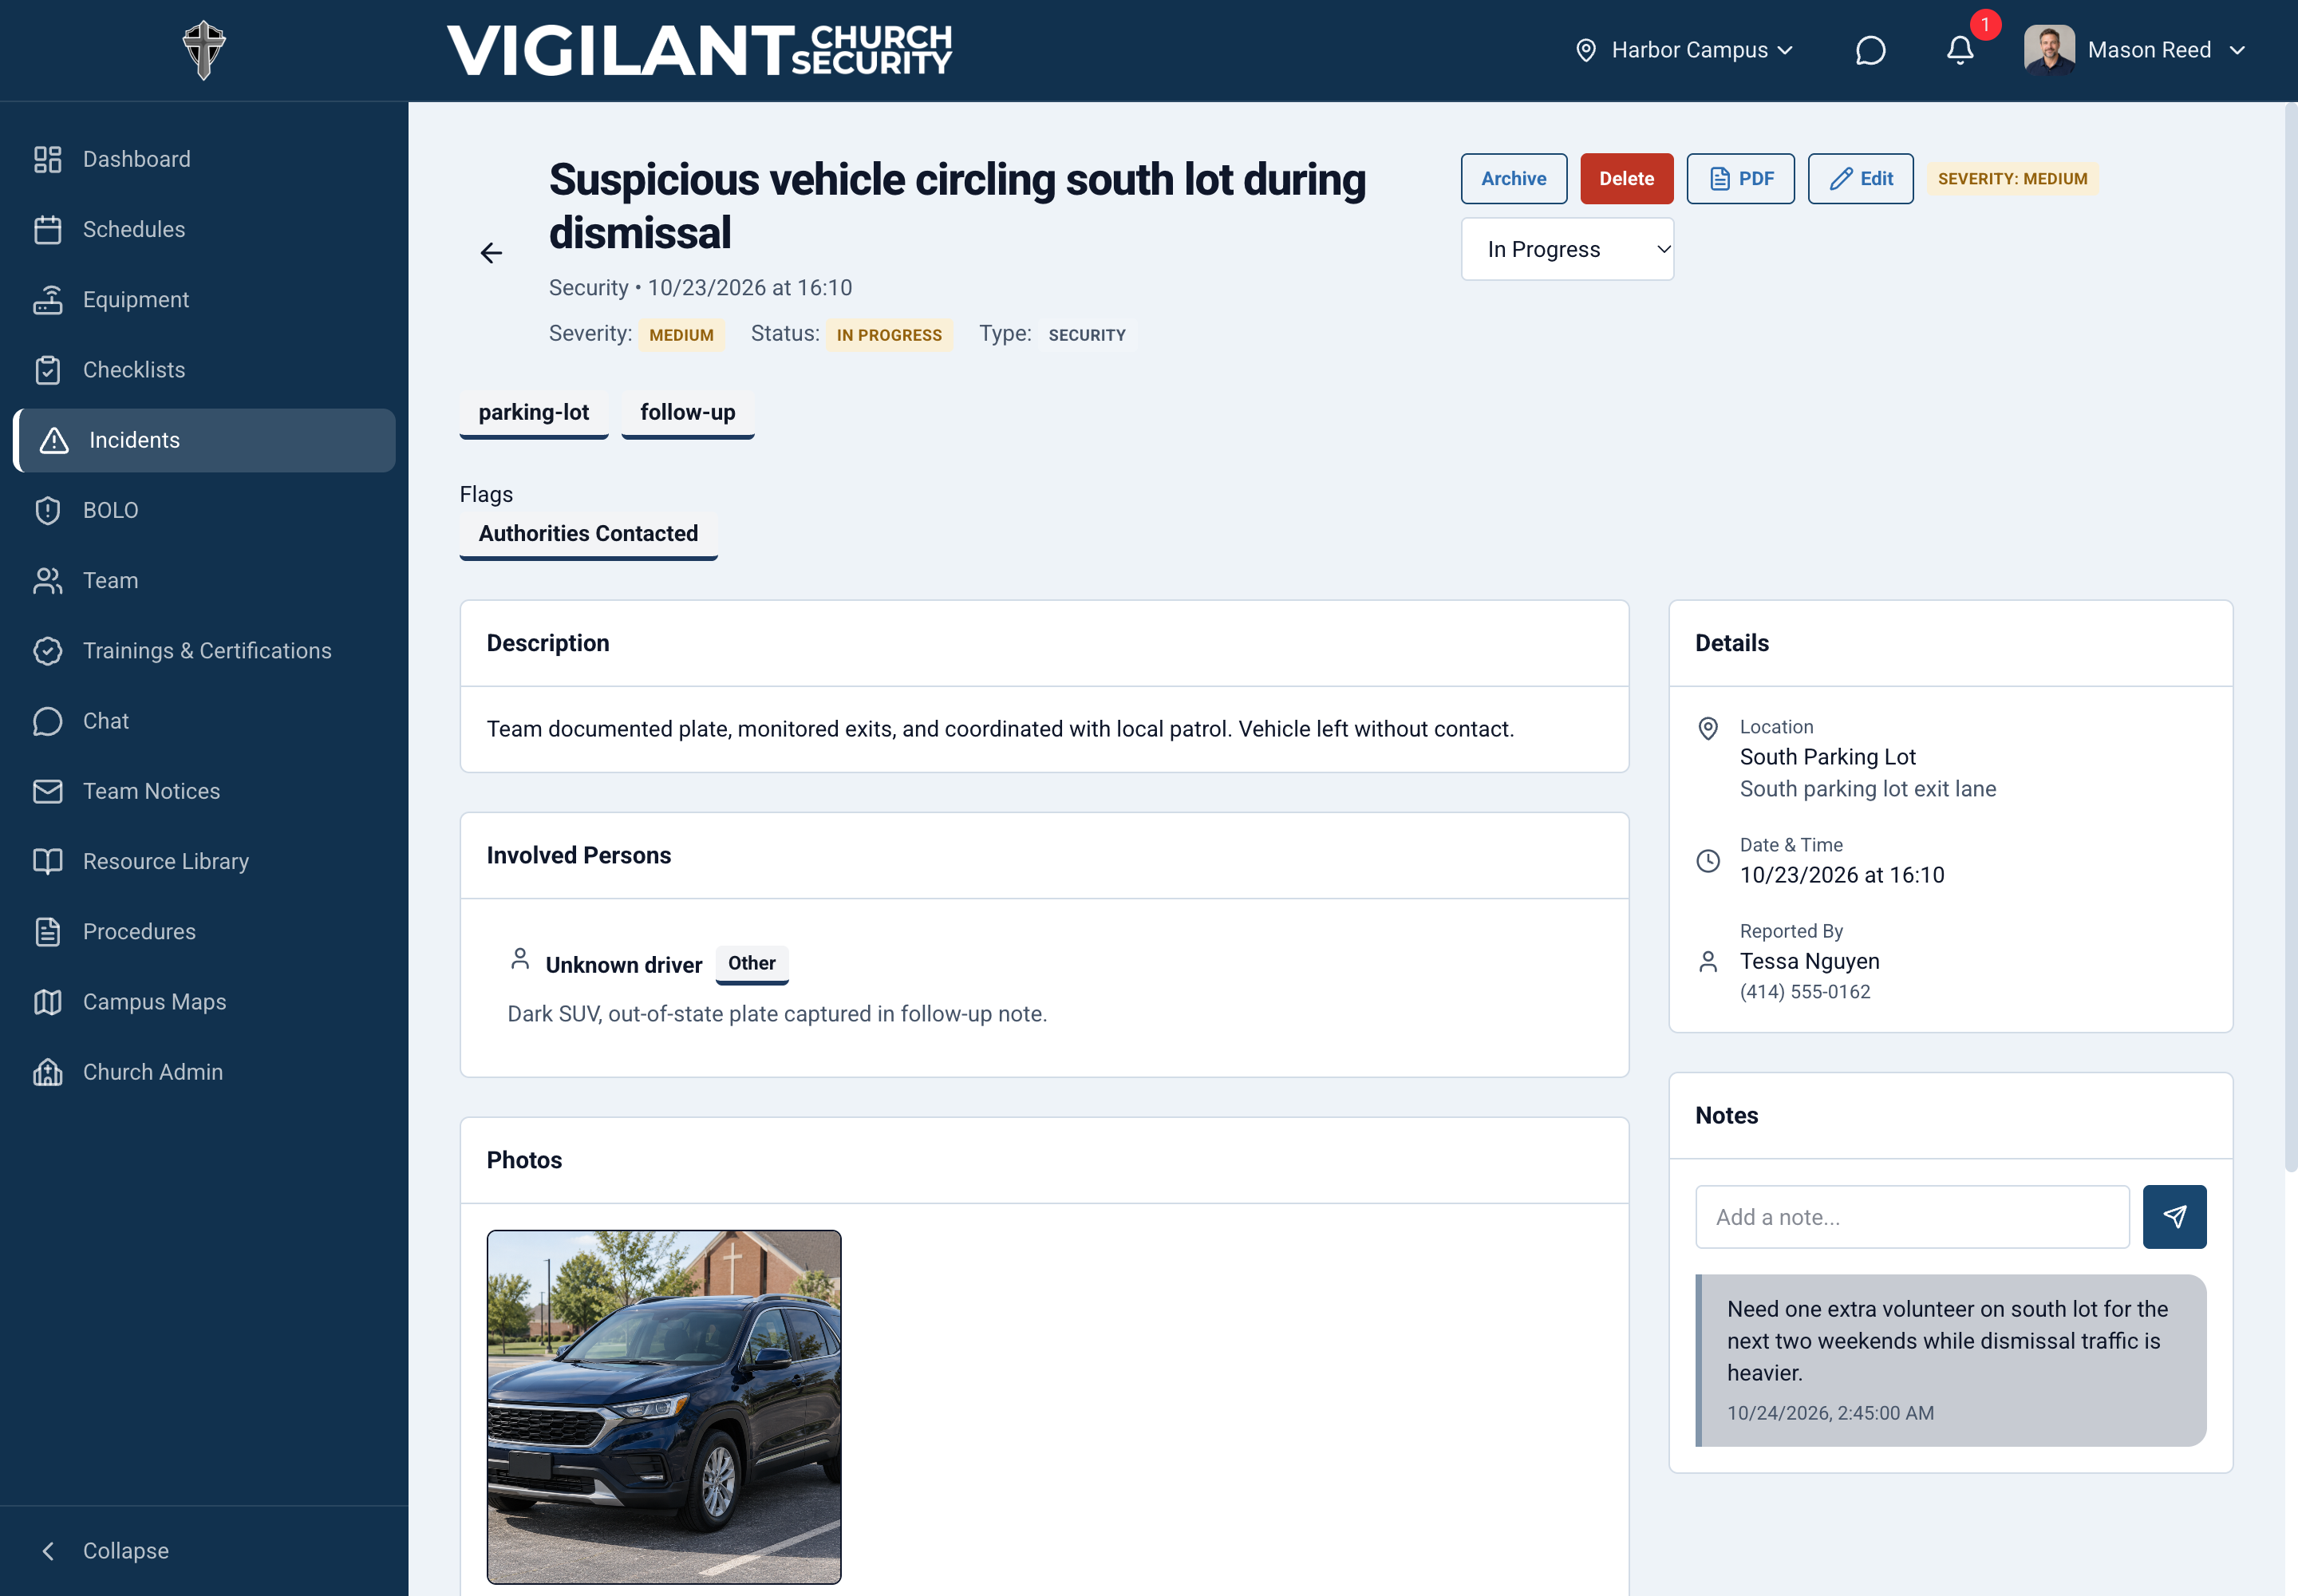
- Open Incidents.
- Check the campus and search for a title or keyword.
- Adjust priority, status, and date filters as needed.
- Open the report.
- Review the event time, location, description, status, photos, and notes.
Add relevant follow-up
If your role has note access, add factual updates to the existing incident. Wait for the note to save. Reopen the report to check it. Keep discussion in Chat brief; the incident holds the formal record.
If you cannot find a report
Clear filters and check the church and campus. Some incidents have restricted visibility. Ask your lead about a missing record. A report being absent from your list does not prove that it was never submitted.
Protect the information
Keep incident details and photos within your church's approved process. Use only the records you need for your assignment. Ask your lead before sharing an export or screenshot outside the team.

Create an incident report
Open this section in the web app
Open the form
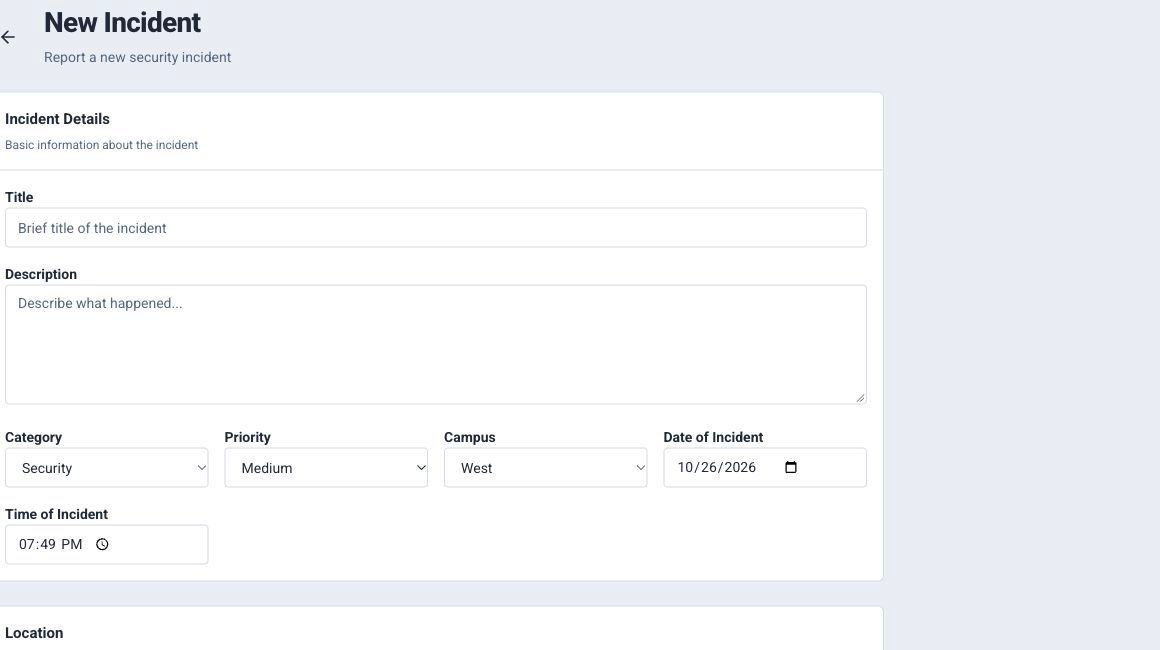
Open Incidents > New Incident, or use Report Incident on Dashboard.
Complete the report
- Enter a clear Title and factual Description.
- Select Category and Priority.
- Confirm the Campus, incident date, and incident time. Correct the defaults if necessary.
- Add the location and specific location details.
- Add involved people, tags, and additional details when relevant.
- Add authorized photos. Review the full form.
Select Create Incident. Wait for success. Open the saved report and verify its text and photos. If a save times out, check the incident list before submitting again.
Write useful facts
For example: “At 10:15, I observed water near the east lobby entrance. I placed a caution sign and notified facilities.” Separate what you observed from what someone reported. Follow your church's response procedures first when urgent action is needed.

Review BOLO alerts
Open this section in the web app
BOLO means “Be On the Lookout.” Alerts give your team information about a person, vehicle, or situation.
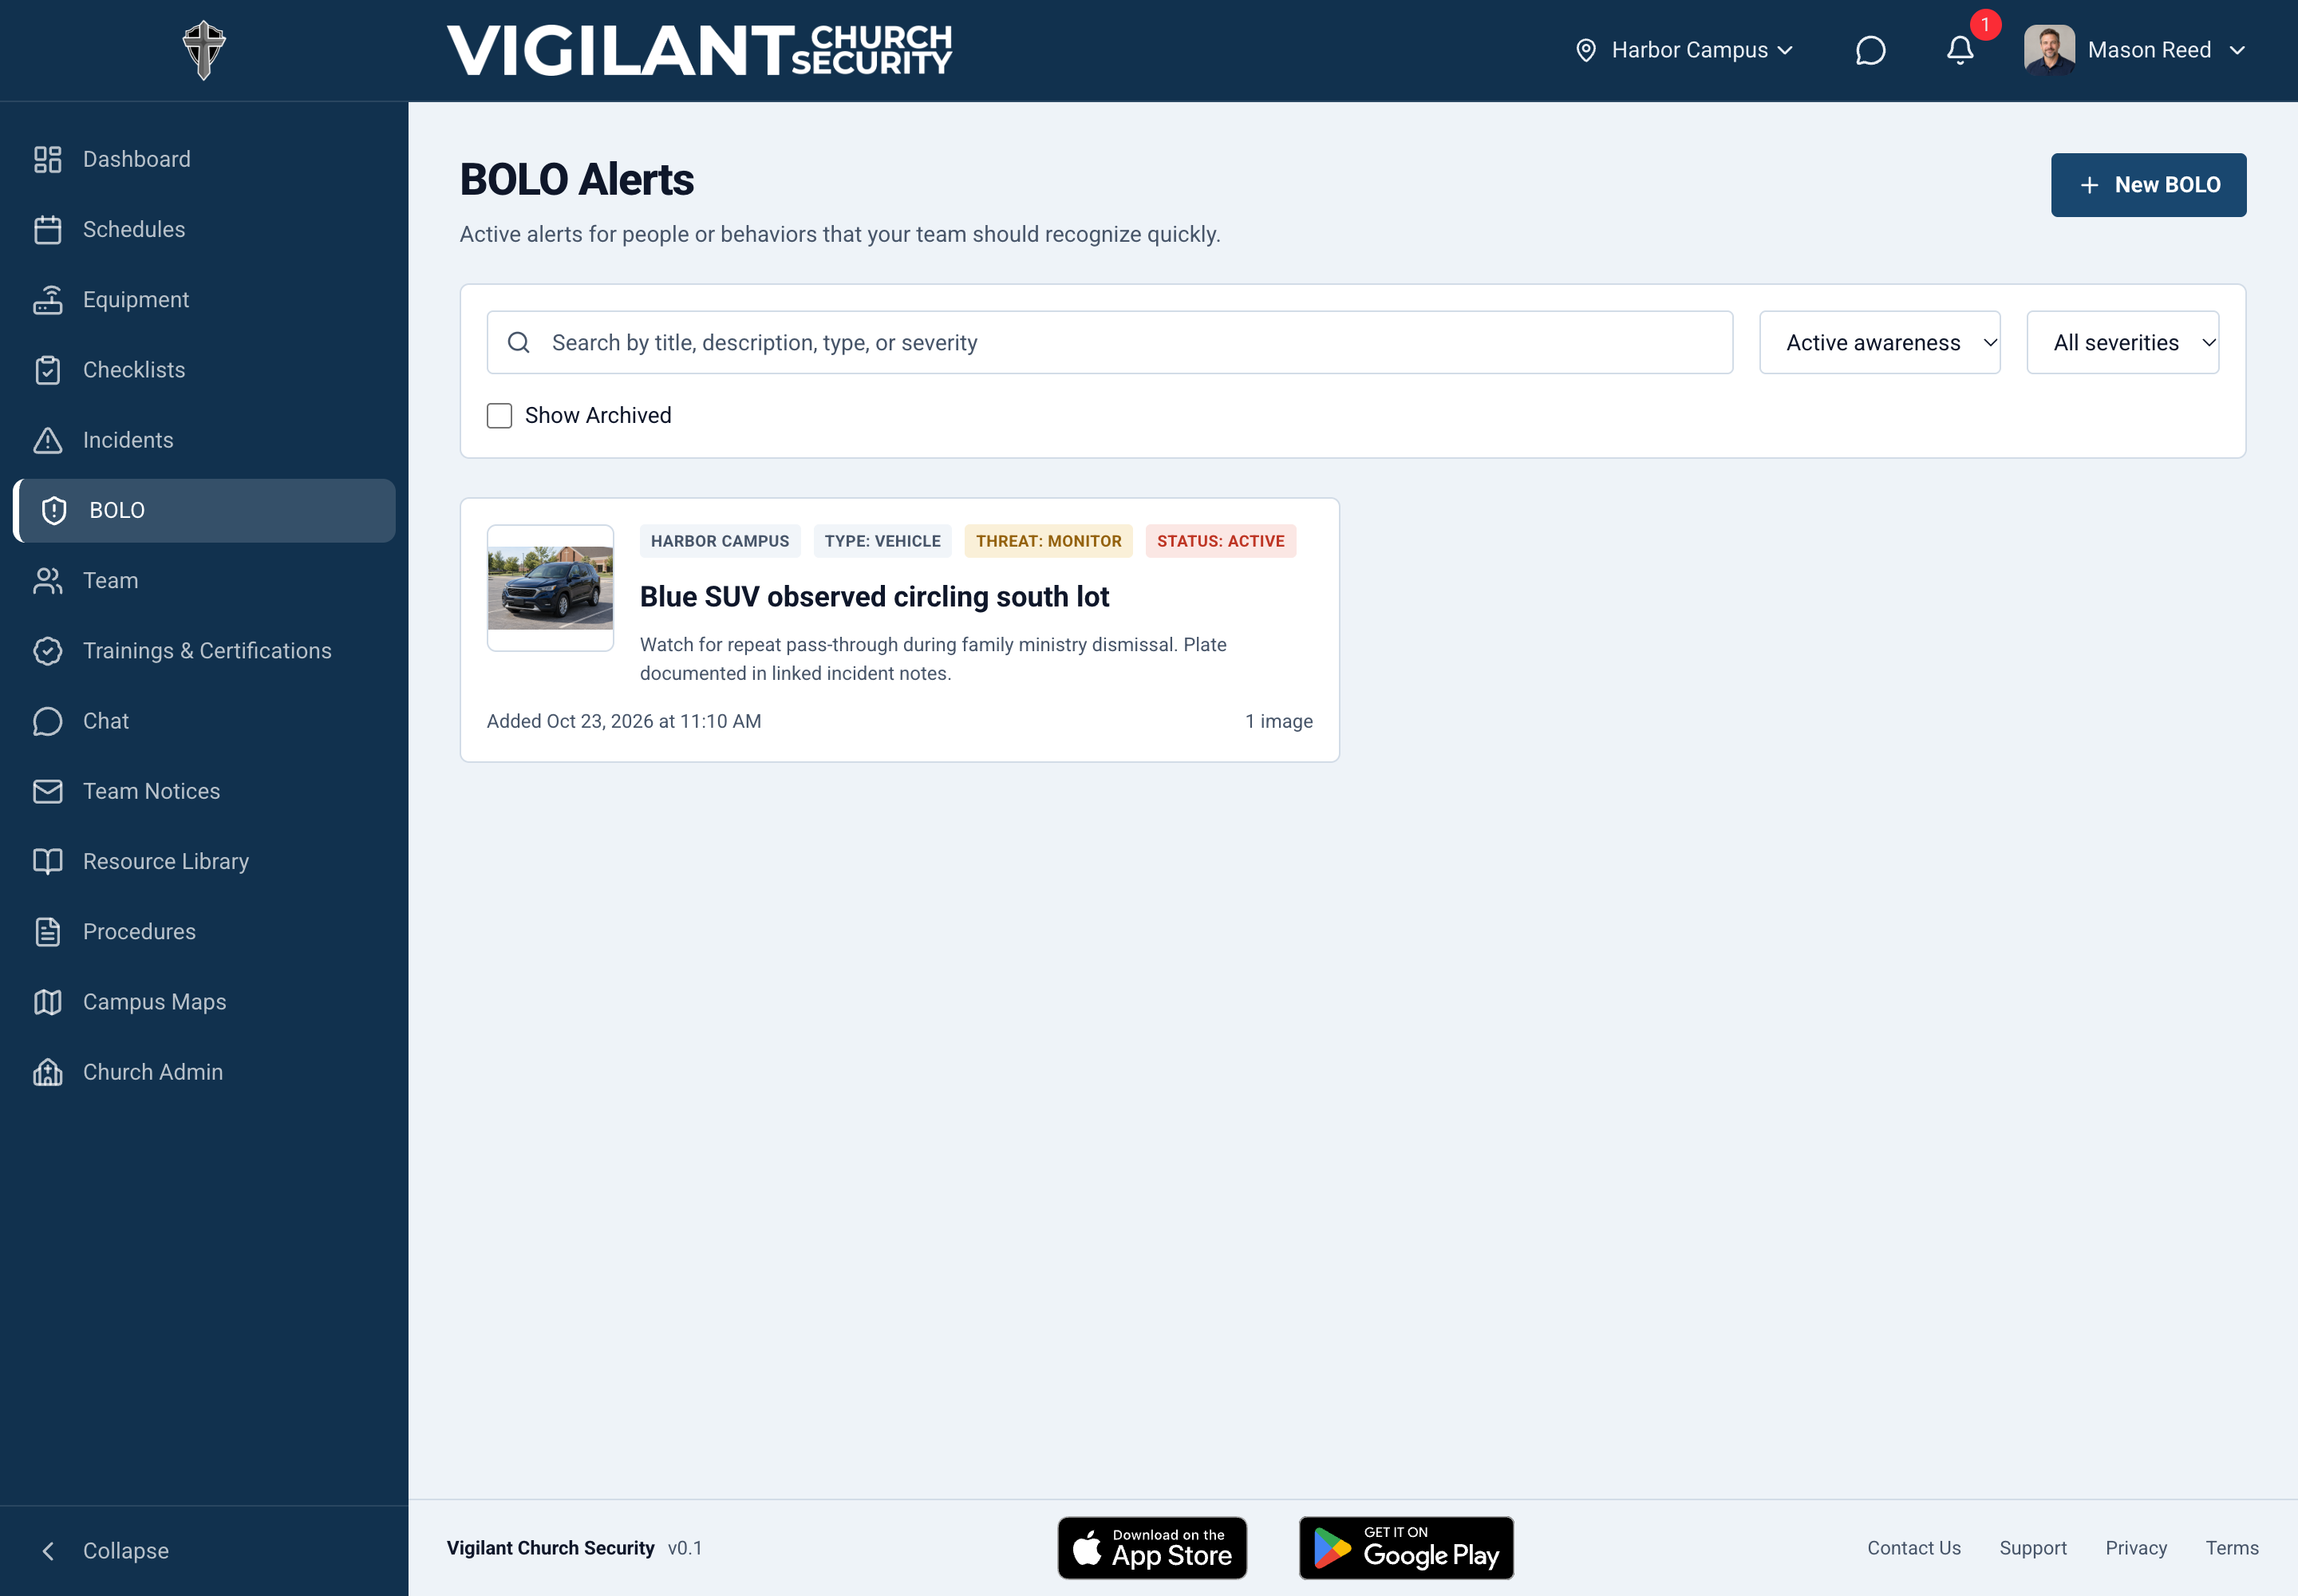
- Open BOLO.
- Review active alerts. Adjust campus, severity, or search filters if needed.
- Open the relevant alert.
- Read its status, threat level, description, identifying details, photos, and notes.
- Check the date and the alert's instructions.
During your shift
Follow your church's procedure for observations or sightings. Give your lead the time, location, and factual details. Create an incident report when your procedure requires one. Recheck the alert status before acting on older information.
If your list looks different
Alerts can target specific campuses and roles. A resolved alert may disappear from an Active filter. Clear filters before asking your lead about an expected alert.

Use the Resource Library
Find videos, documents, images, and useful links
Open this section in the web app
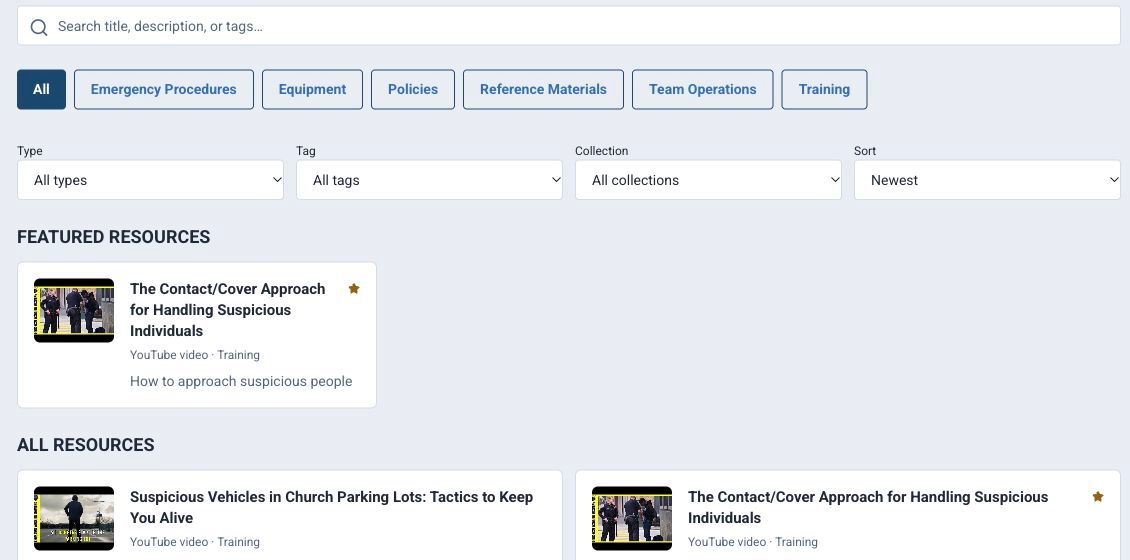
- Open Resource Library.
- Search the title, description, or tags.
- Narrow the results with category, Type, Tag, or Collection.
- Open a resource card.
- Read the document, view the image, play the video, or follow the link.
If content does not open
Use Open Original when offered for an external source. Use Open Procedures for an existing procedure reference. If the original also fails, tell your lead which resource failed and the error shown.
If a resource is missing
Clear filters and try a shorter search. Use the load-more control if shown. Only published resources shared with your audience appear. Ask the content owner about missing access. Equipment checkouts are in the separate Equipment section.

Use Chat
Read the right conversation and send a clear reply
Open this section in the web app
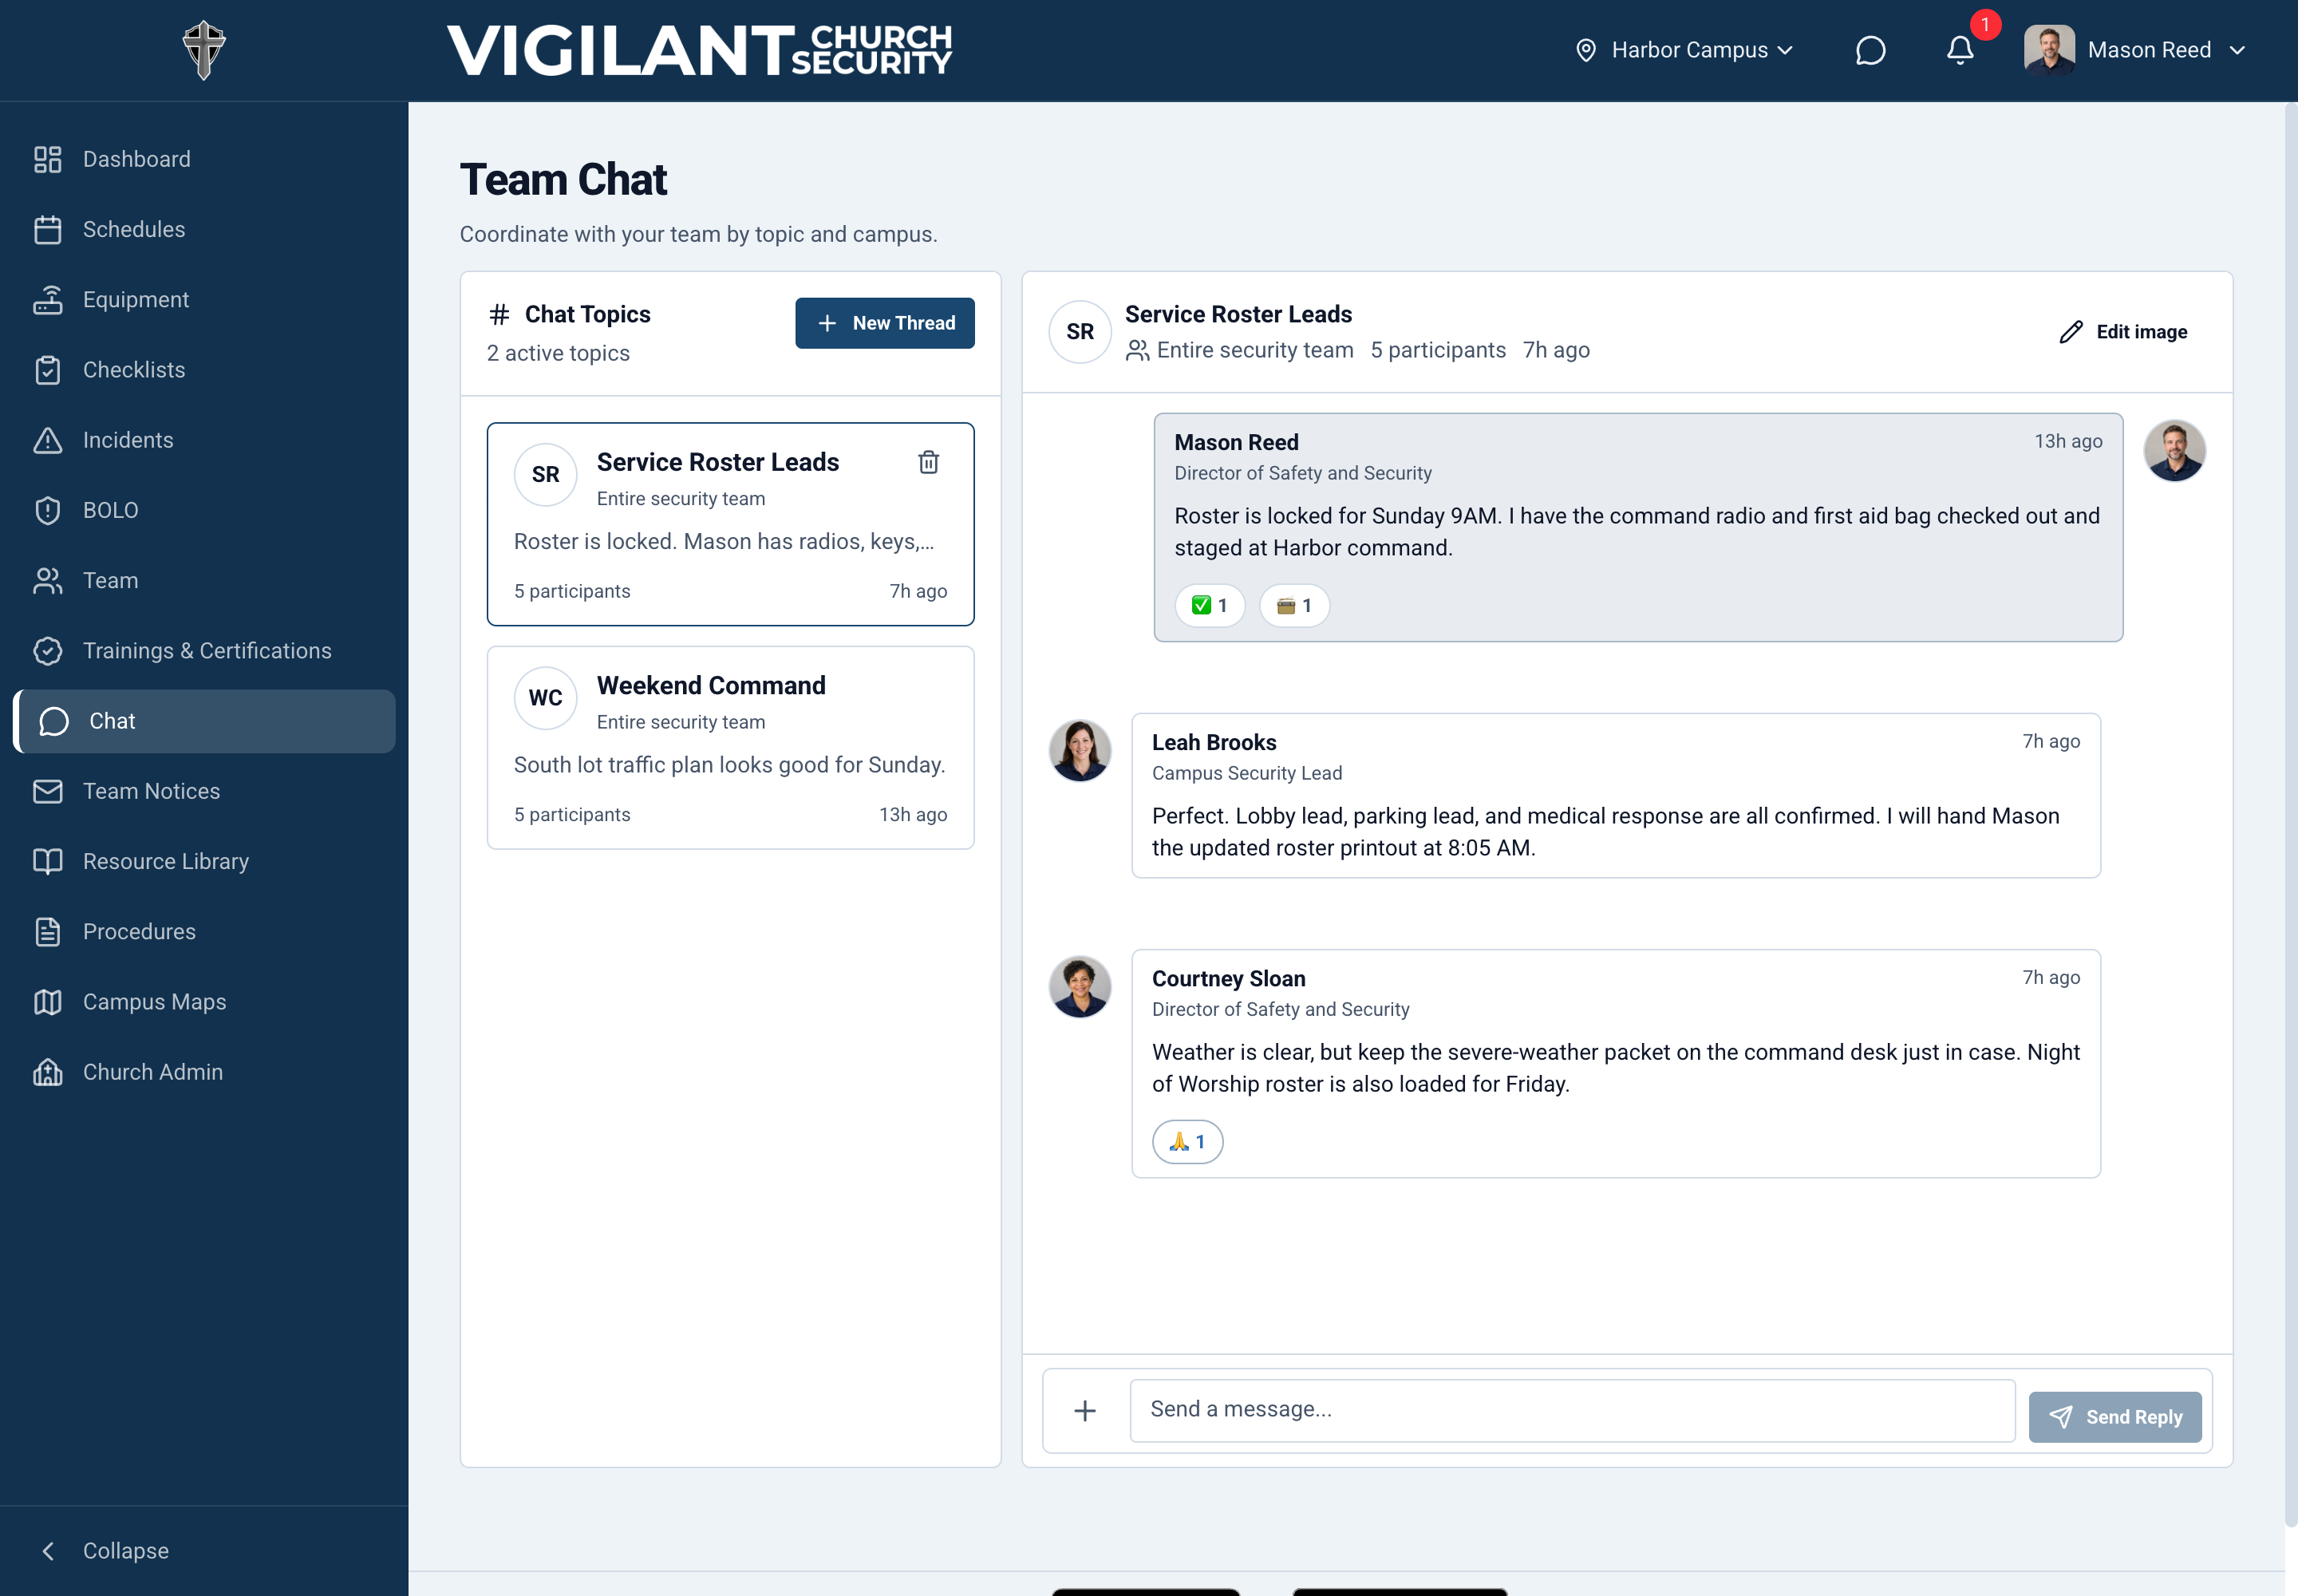
- Open Chat.
- Select the thread for your team, campus, or task.
- Read the latest messages and confirm the audience.
- Type in the message box.
- Select Send Reply.
- Confirm your reply appears in the thread.
Keep replies short and specific. Use the reaction picker to acknowledge a message when available. Attach only relevant, approved files. If a send fails, reopen the thread and check for the message before sending again.
Use Chat for conversation and coordination. Read announcements in Team Notices. Use Incidents for formal reports. Follow your team's urgent communication process when an immediate response is needed.
Missing thread or send control
Thread audience and participation permissions are separate from viewing Chat. Ask your lead if the expected conversation is missing or you can read but cannot reply. New-thread controls may be unavailable to your role.

Complete a checklist
Open this section in the web app
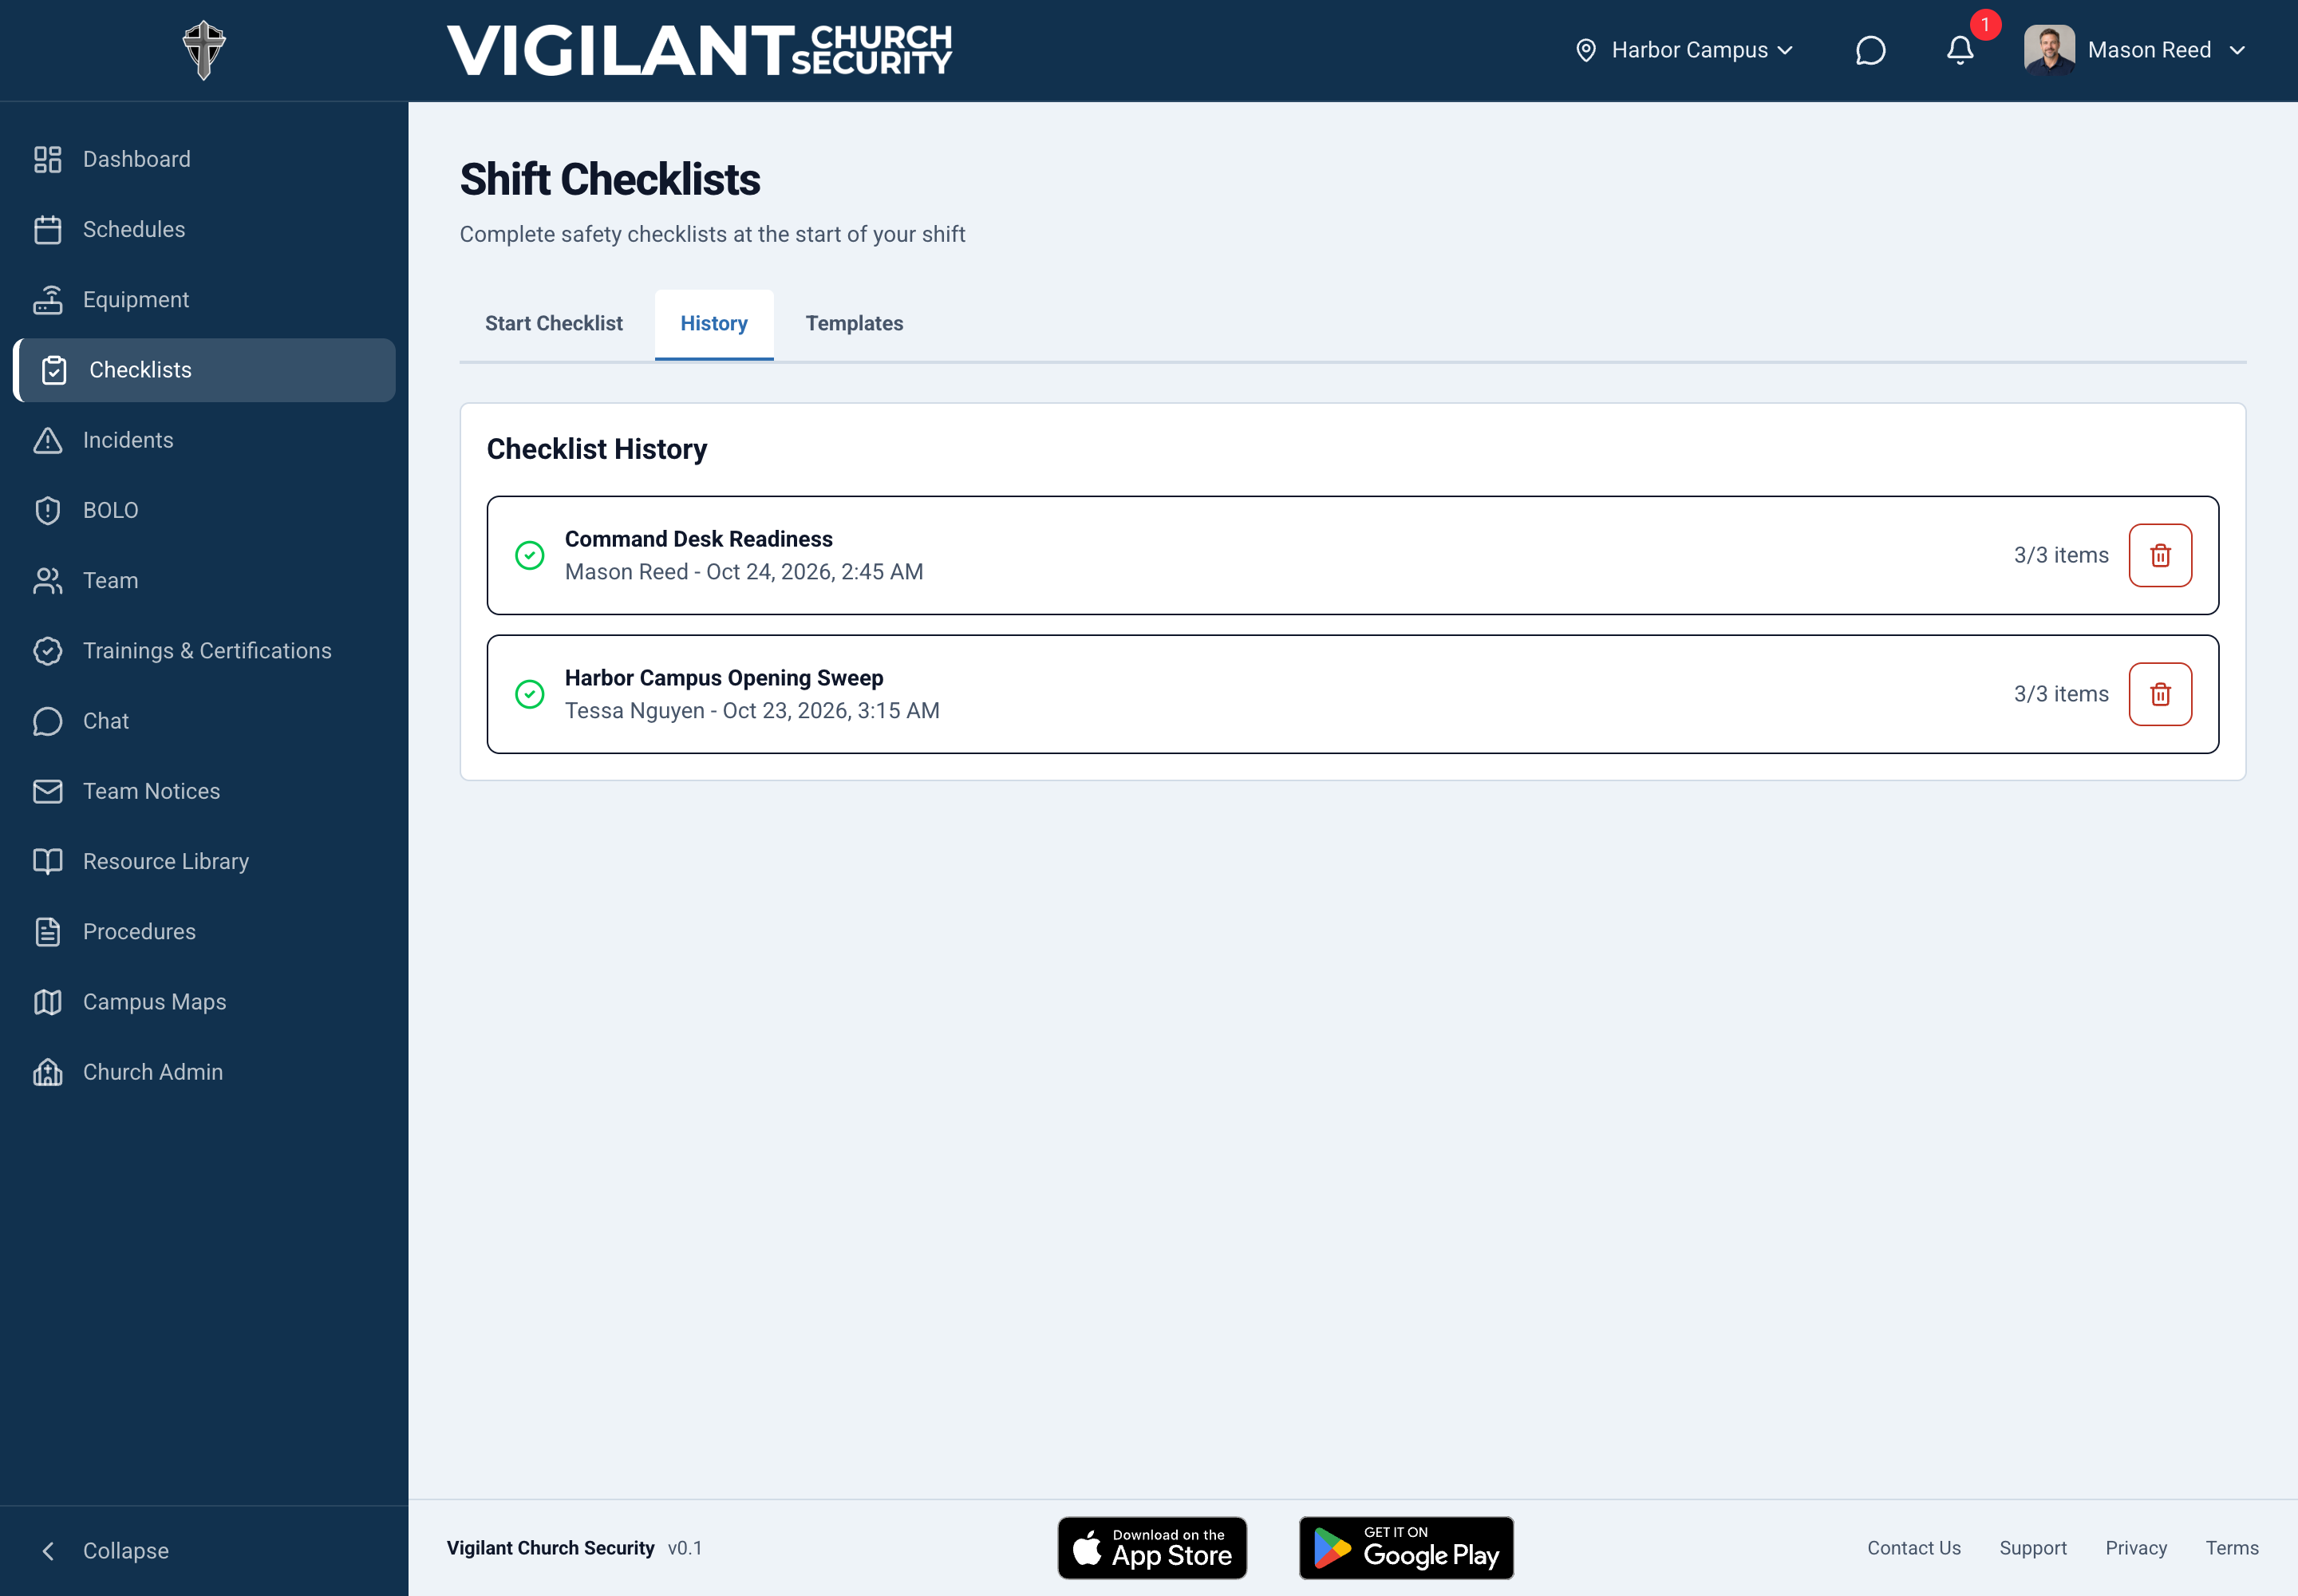
- Open Checklists.
- Use Start Checklist and select the correct template, campus, and service context when requested.
- Select Continue if a draft already exists.
- Perform each task, then mark its item.
- Add relevant notes and photos.
- Select Complete when finished.
Report anything unresolved
Do not mark an item complete before doing the work. Add a clear note about a failed check and tell your lead. Use an incident report when required by your church's procedure.
Member access
Template creation and editing are separate management tasks. If you can view a checklist but cannot start or finish it, ask your lead about completion access.

Review Campus Maps
Open this section in the web app
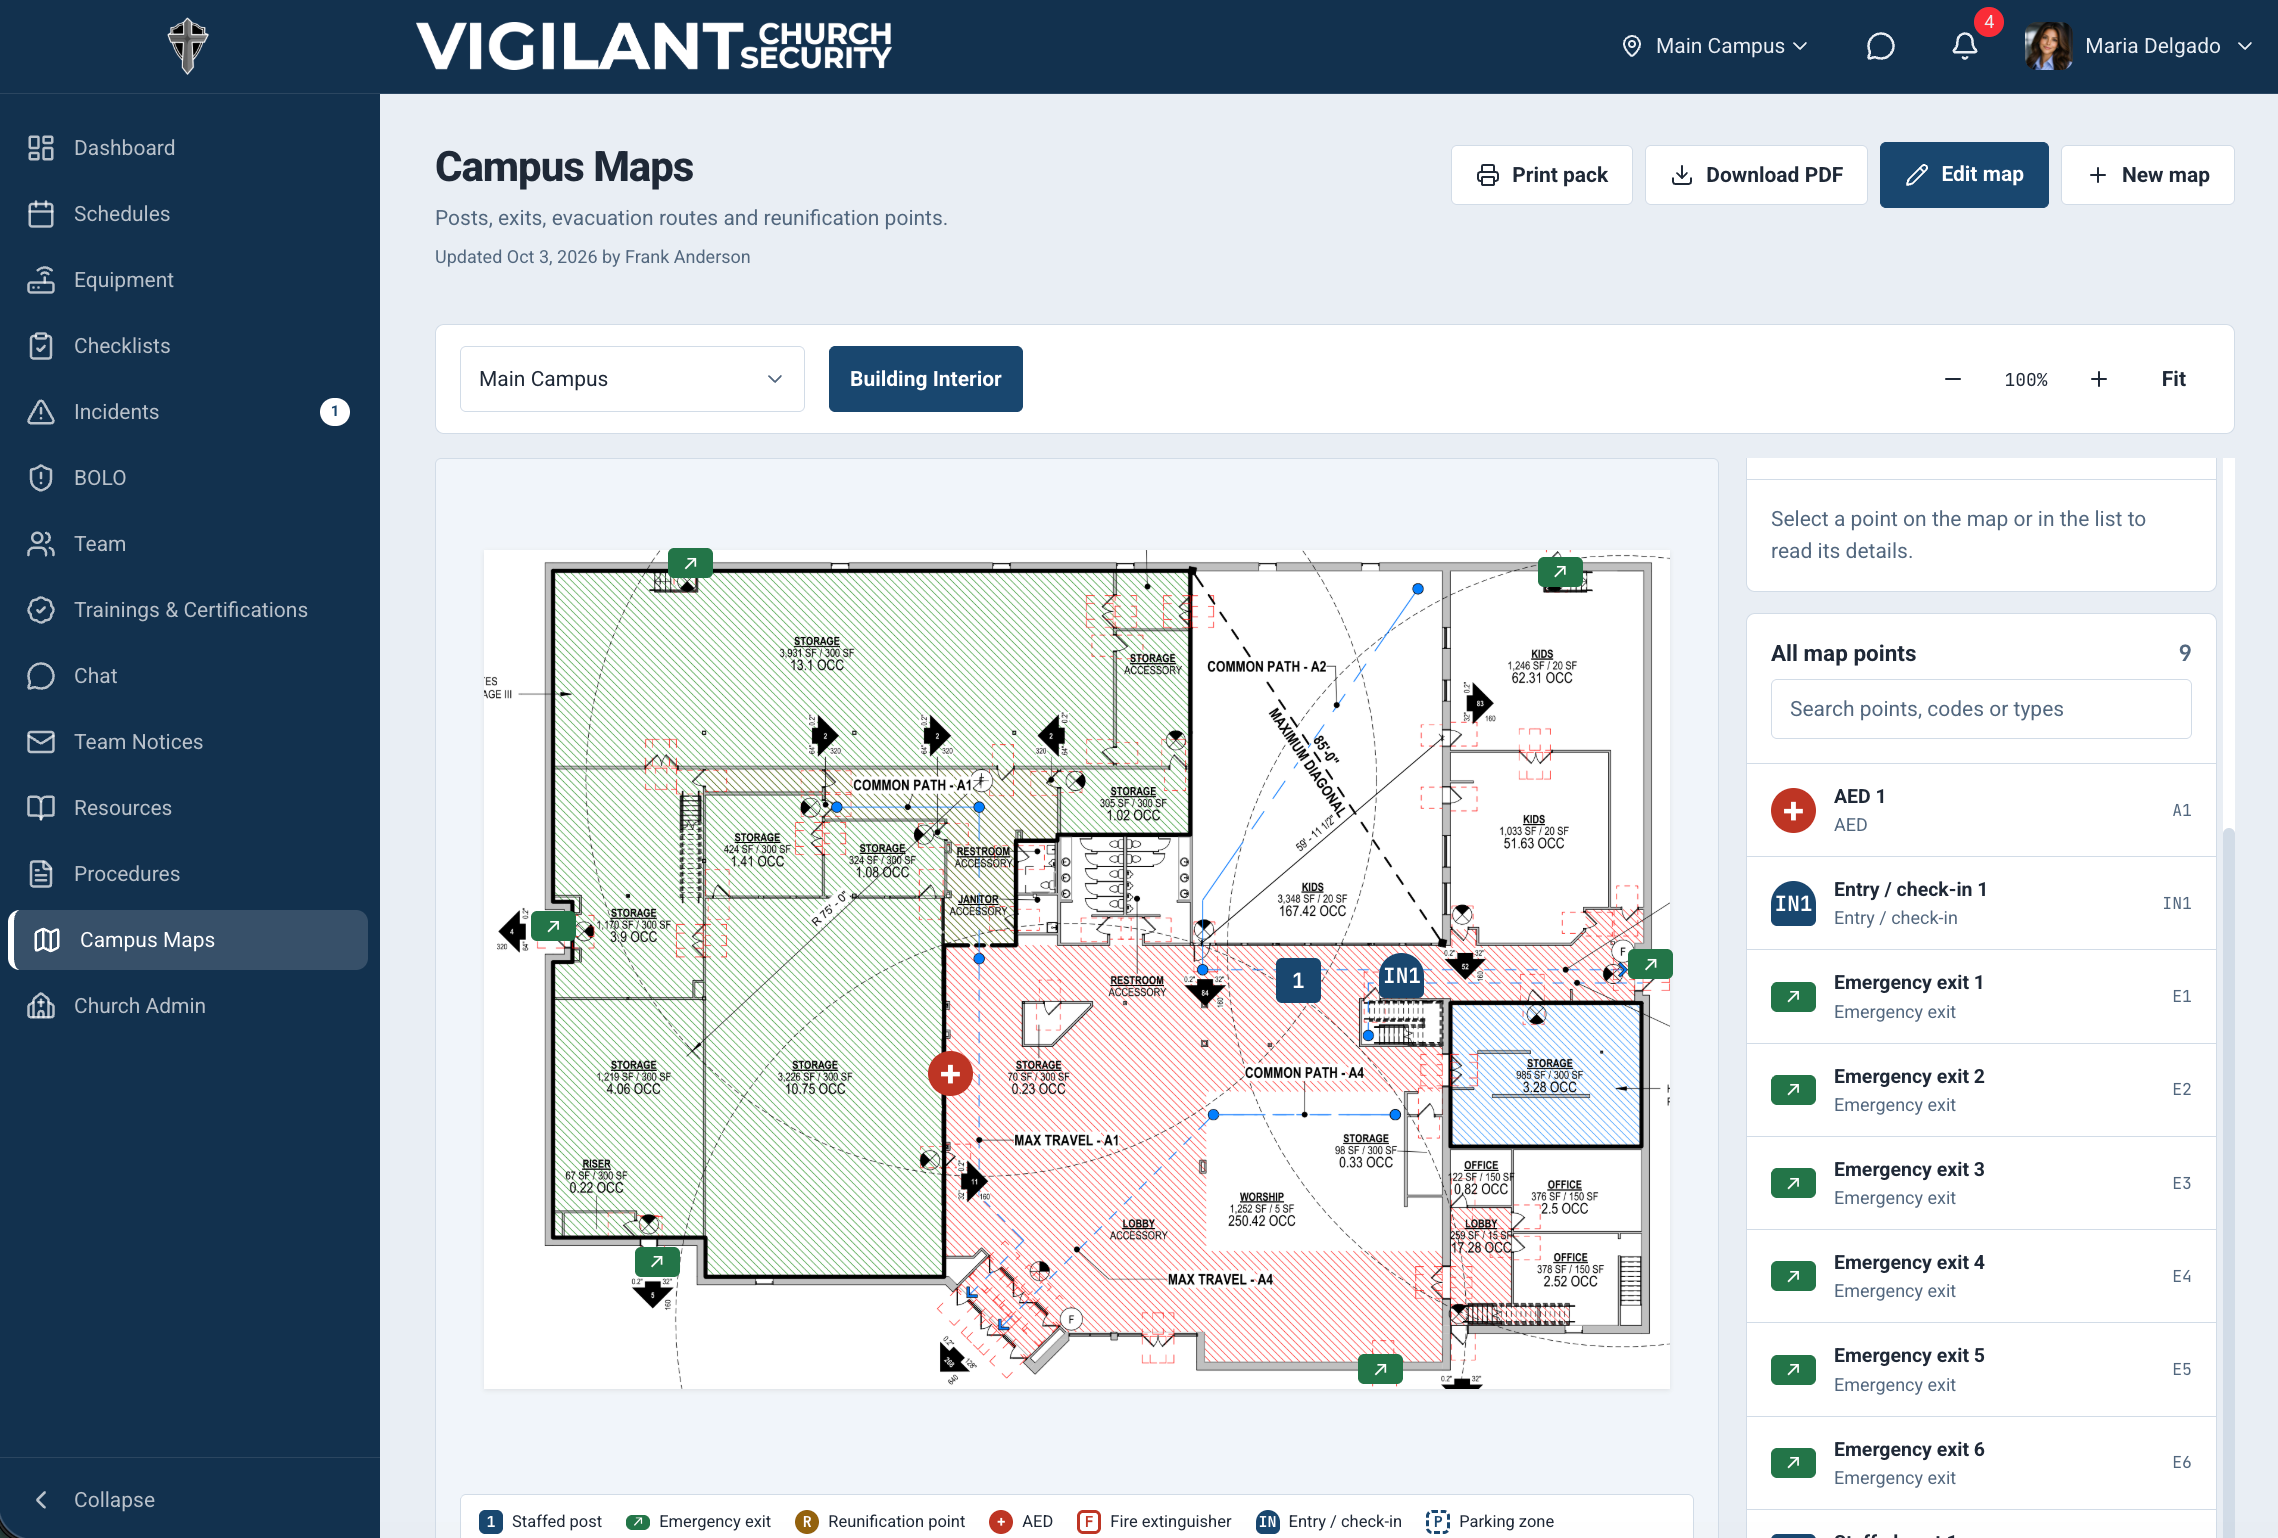
- Open Campus Maps.
- Select the campus, building, and level.
- Select a marker or a row in All map points.
- Read the point details.
- Use search or Layers to narrow the points. Pan, zoom, or select Fit to adjust the view.
Find your assigned post, relevant entrances, emergency exits, first-aid locations, and reunification points. Read any notes, radio channel, or evacuation destination supplied by your church.
Use maps as a reference
Maps do not show live team locations or prove that a route is clear. Follow your church's procedures and the building's current conditions. Check the map's updated date.
Print a reference
Use Print pack or Download PDF when available. Check the updated date before using or sharing a printed copy.

Get ready for your first shift
Finish setup, check your work, and know where to get help
Open this section in the web app
Check your profile and preferences
Open your profile menu and select Settings. Review your name, contact details, notification preferences, and schedule settings where available. Save changes. Ask your lead to correct role or campus assignments.
Your first-shift checklist
- Confirm your church, campus, and contact details.
- Find your next assignment and respond.
- Review active BOLOs and recent Team Notices.
- Read the procedures for your assignment.
- Locate your post on Campus Maps.
- Find your team's Chat thread.
- Review required training and save your response.
- Know how to check equipment out and return it.
- Know how to open an incident form and complete a checklist.
At the end of your shift
Finish or hand off checklist work. Complete any required incident reports. Return equipment and record its condition. Check out of the shift when that action is available. Send the handoff information your team requires.
Get help
Open Support from your profile menu. Include the section, action, time, app or browser version, and exact error. Avoid sending private incident or chat contents unless requested through an approved process. You can also email support@vigilantchurch.com.