Schedules
Check In and Check Out from the Dashboard
Use the Dashboard Check In widget before a scheduled service and check out when your shift is complete.
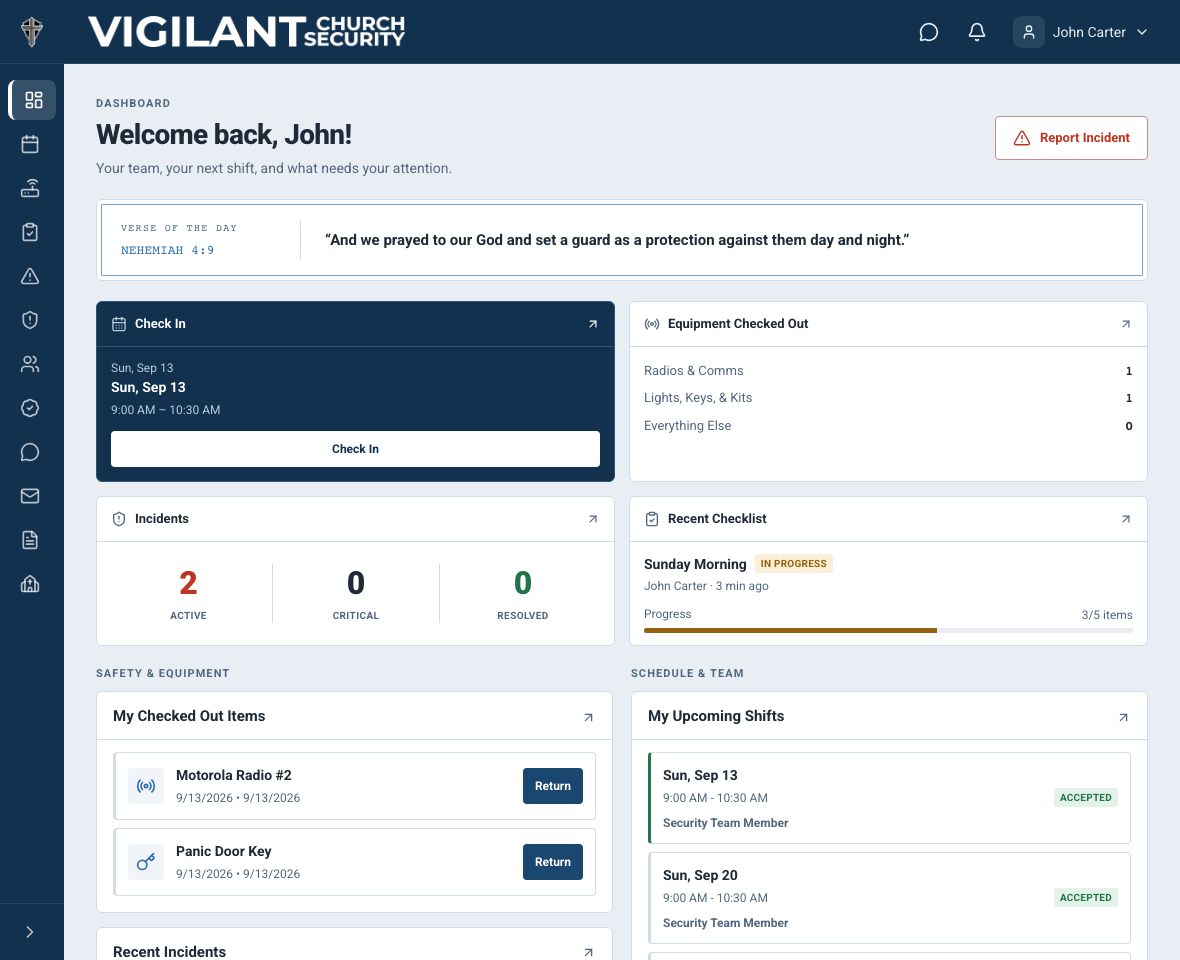
The Dashboard Check In widget keeps your next assigned service visible and provides the check-in action when the service window opens.
Understand the widget
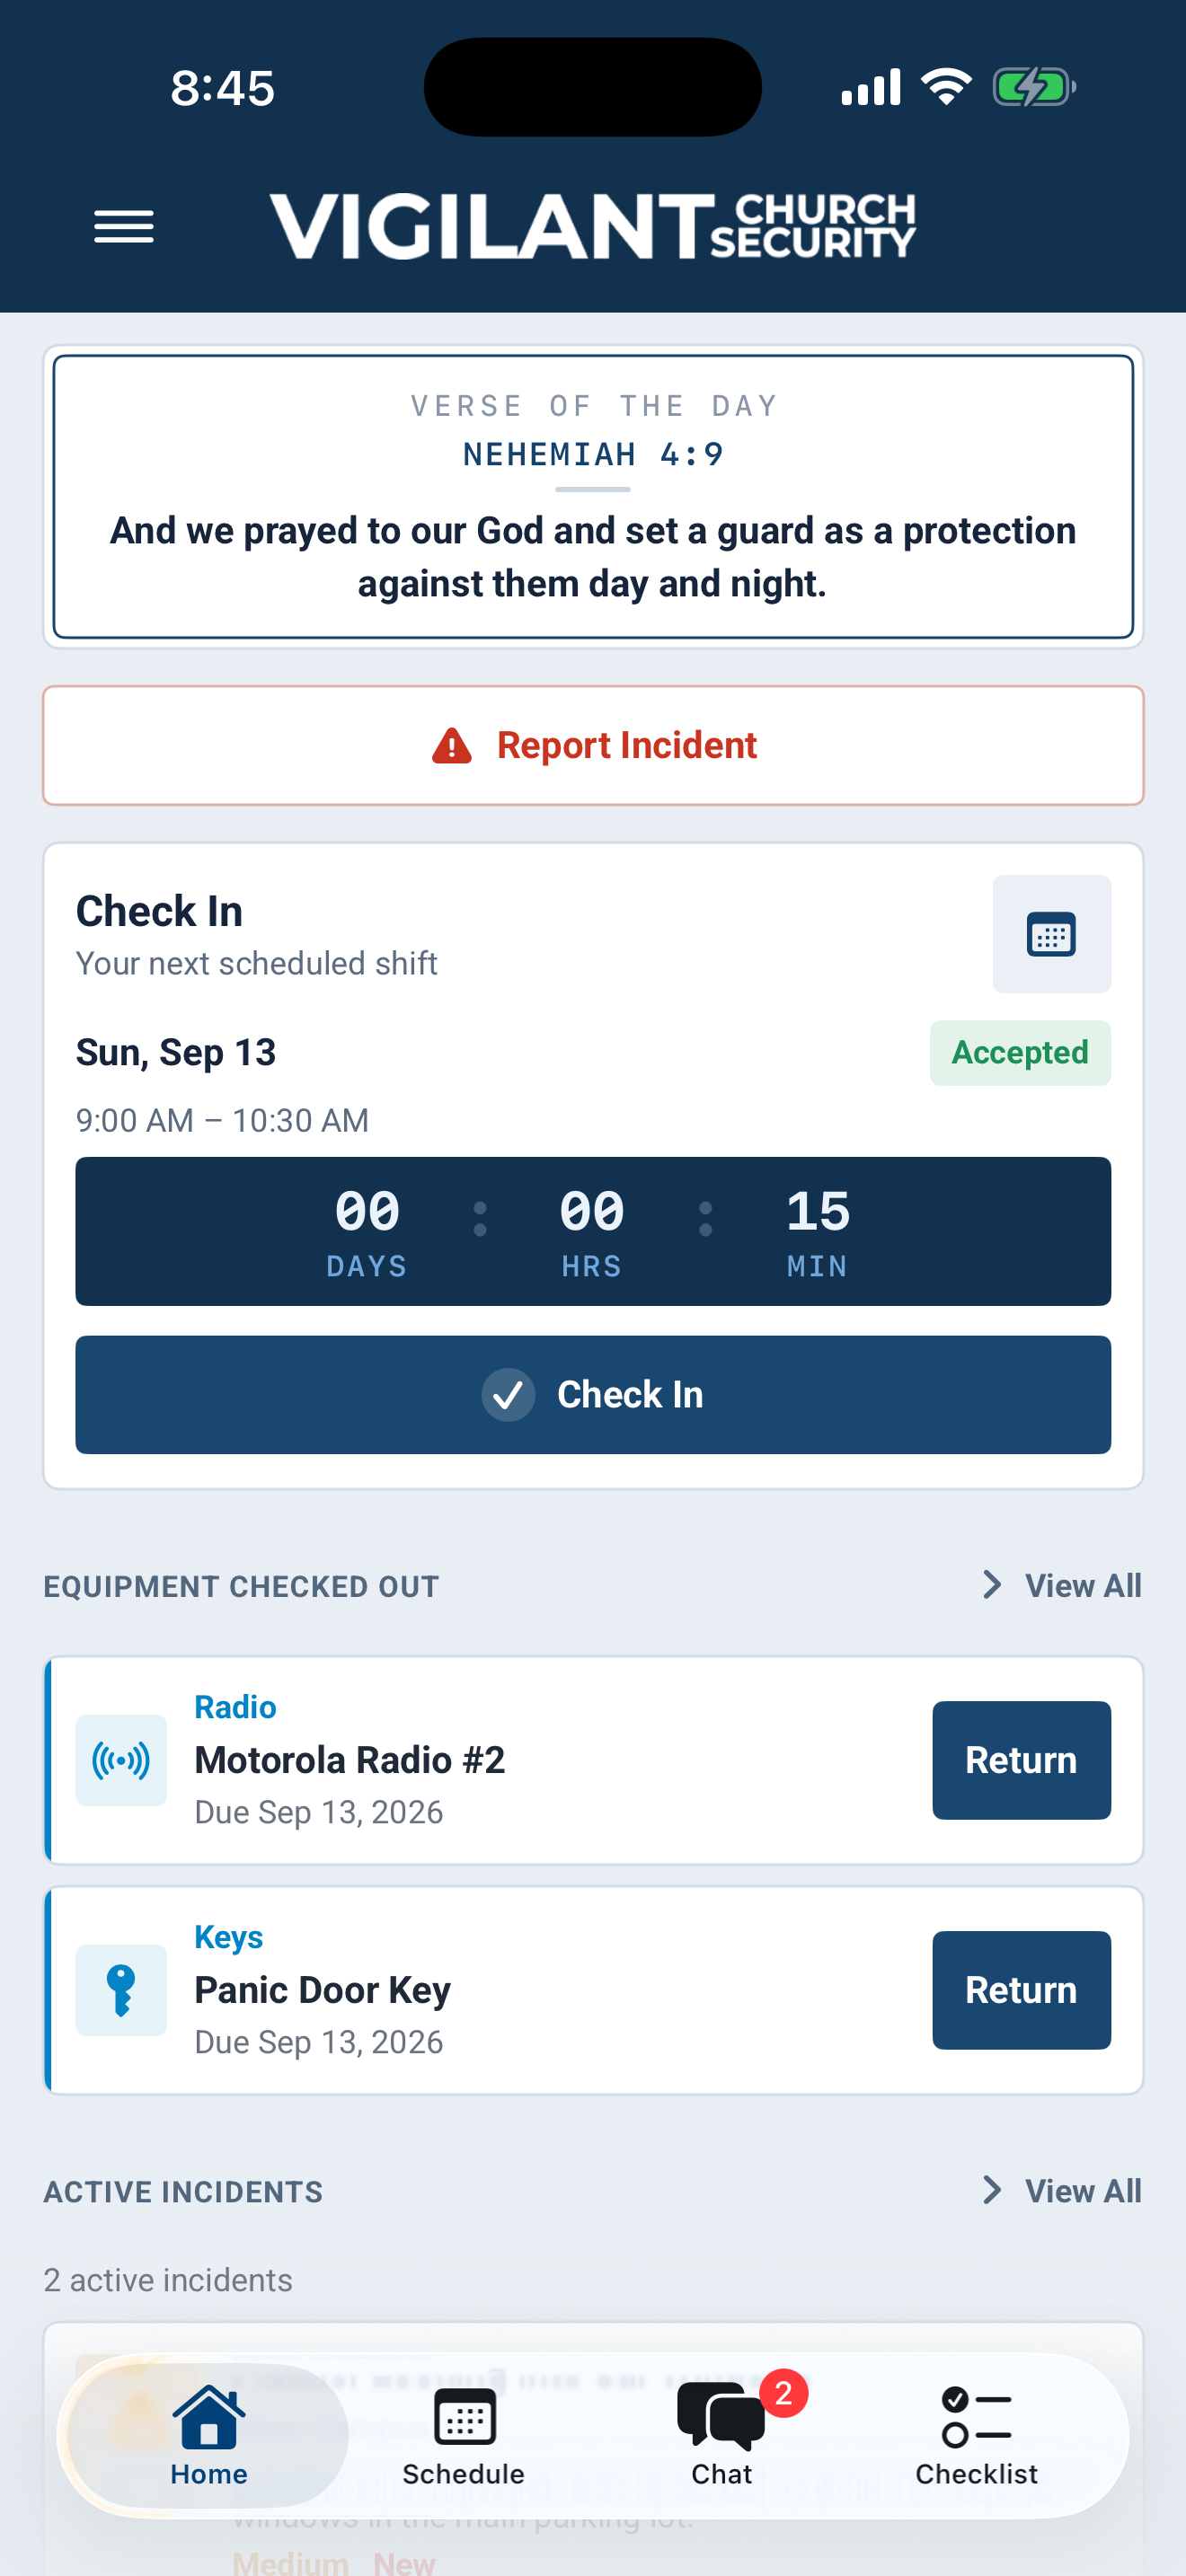
- Before the check-in window, the widget shows your next shift and a countdown in days, hours, and minutes.
- If you have no upcoming assignment, it shows No upcoming shifts and points you to Schedules for open opportunities.
- Selecting the widget outside an action button opens Schedules.

Example shown with fictional demo data. View full-size screenshot.
Check in
- Open Dashboard on the day of your assigned service.
- Confirm the service date and time displayed in the Check In widget.
- Beginning 90 minutes before the service start time, select Check In. The button remains available through the scheduled service window if you have not checked in.
After a successful check-in, the widget records your attendance state. If the action fails, refresh the service and check whether attendance was saved before retrying.
Check out
- When your service is complete, return to the Dashboard Check In widget.
- Select Check Out.
After checkout, the service is marked Completed in the widget. For a Planning Center-sourced service, the widget may show Checked in without a Vigilant Check Out button.
If the widget or button is missing
- The Check In widget is hidden when an administrator disables Scheduling for the church.
- You need an assigned, eligible service. A declined assignment is not available for check-in.
- Before the 90-minute check-in window, the widget shows a countdown instead of the Check In button.
- After the service window ends, the widget moves to the next upcoming service or the no-upcoming-shifts state.
Correct an attendance problem
If you checked in to the wrong service, cannot check out, or need an attendance record corrected after the service, contact a church administrator or scheduling leader.
On iPhone or Android
Start from Home on iPhone or Dashboard in the Android test build and open the assigned-service check-in action. Confirm the campus and service, then wait for the resulting attendance state. Participate in Assigned Shifts is separate from schedule viewing. Device alerts, accepting a shift, volunteering and completing a checklist do not themselves record attendance. Use the web app or ask a scheduling leader if your build lacks a correction or reporting control.

Example shown with fictional demo data. View full-size screenshot.