Setup
Manage Church Branding
Update church branding when access is enabled and confirm how it appears in supported screens and reports.
Church Branding must be enabled for your church, and your account must have the required church-settings access. A plan name alone does not establish that the editor is available.
Open and update branding
- Select the intended church and open Church Branding when it is available in administration.
- Review the existing logo and color settings.
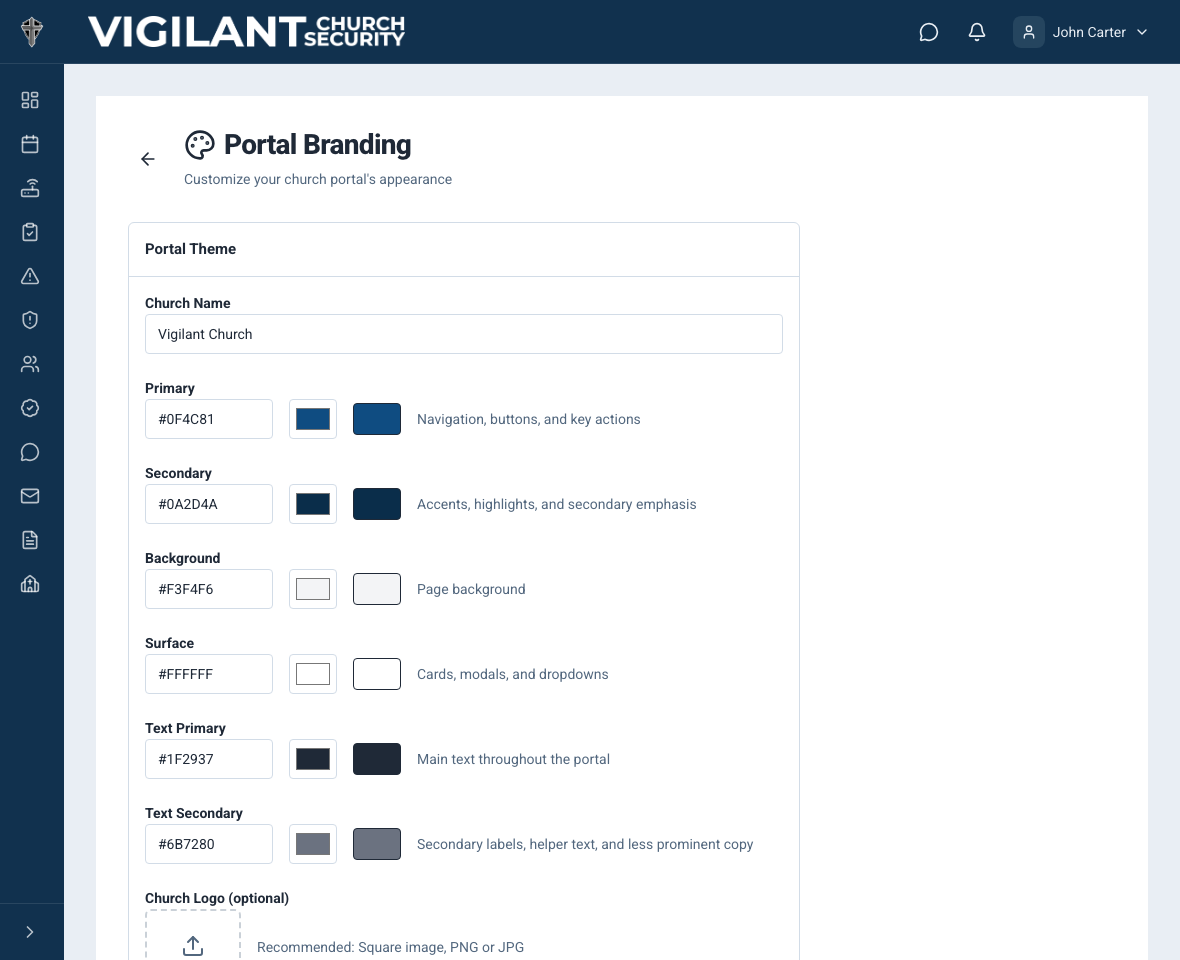
- Choose an appropriate church logo and adjust the supported colors.
- Review the preview, check readability, and save your changes.
- Reopen the editor to confirm the saved settings. Check a supported report or screen before assuming every part of the app uses the same branding.
Use a clear logo with appropriate contrast and follow your church's brand permissions. Branding does not change record access or the underlying content of a report.

Example shown with fictional demo data. View full-size screenshot.
If branding is unavailable
Ask an administrator to confirm church-settings access. If the church has no branding access, contact Vigilant Support to review availability. Do not change plans solely on the assumption that it will unlock the editor.
If access is later removed, previously saved branding may remain applied while further editing is unavailable. Ask Support to confirm the church's current access and saved state.
Troubleshoot a failed update
Check the file type and size shown by the upload control, your connection and the visible error. Confirm whether the previous image or new image is saved before trying again. Avoid uploading unrelated or sensitive images. Share the error and approximate time with Support if the problem continues.
Current editor controls
In Church Admin, find Church profile and select Open Branding Settings. Viewing Branding and changing it are separate permissions. A read-only screen does not grant upload or save access.
The editor recommends a horizontal 640 × 64 px logo up to 5 MB, using PNG or WebP with a transparent background. Confirm the upload, review color-validation messages and select Save Changes. Wait for Branding Saved before leaving. Keep your source logo; verify its contrast on the actual supported screens and reports.