Setup
Invite Security Leaders and Team Members
Invite people, assign their operational role and campus, and grant Church Admin access separately when appropriate.
Invite the leaders who will help configure your church, then add the rest of the team. Use the web Team directory for invitations and member profiles. Your available actions depend on your church permissions.
Prepare the invitation
Confirm the person's full name, email address and campus. Choose a role that matches their operational responsibilities. Gather optional contact and emergency-contact details only when your church has a reason and authorization to keep them.
If you prepared people during guided setup, those entries are drafts until you select the recipients and send Invite from the review screen. Finishing or skipping setup does not send invitations automatically.
Add a member
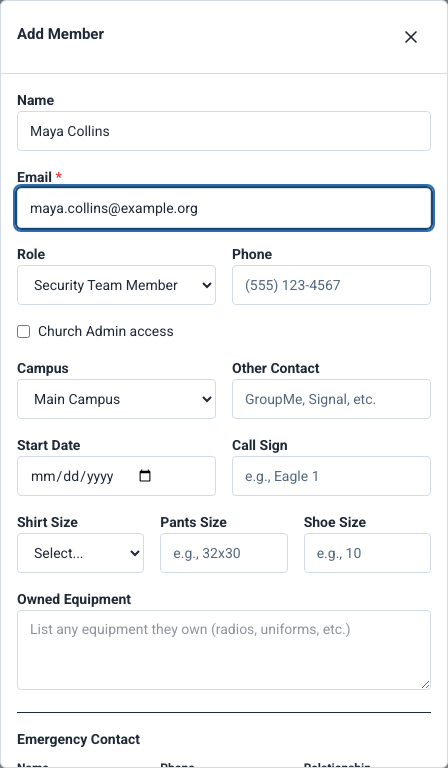
- Open Team and select Add Member.
- Enter Name and Email. The invitation is sent to this address.
- Choose the person's operational Role and Campus.
- Review Church Admin access separately. Only an authorized church administrator can grant this access; leave it off for someone who does not administer the church.
- Add optional phone, other contact, call sign, start date, clothing sizes or owned equipment as needed.
- Add an emergency contact when appropriate. Review any background-check or license fields according to church policy.
- Select Add Member and wait for confirmation. The person completes the invitation sent to their email.

Example shown with fictional demo data. View full-size screenshot.
Understand roles and administrative access
Operational roles include Director of Safety and Security, Campus Security Lead, Security Shift Team Lead, Security Team Member, and Pastoral & Ministry Staff. You may also see Admin on existing accounts.
A person can keep an operational role and also have Church Admin access. For example, a Security Team Member with that access can administer the church without changing their operational identity. Ownership and primary-contact details are separate. See Review Role Permissions.
Pastoral & Ministry Staff is a church role. It does not make the person a member of Vigilant's platform support team. Available pastoral management actions depend on the church's enabled access and effective permissions.
Record certifications and training in the right place
Use Trainings & Certifications, when enabled for your church, for certification records, the certification catalog, requirements and training attendance. Use the member profile's supported record controls to view or maintain that person's records.
Do not treat self-selected Skills as proof of a certification or attendance. An invitation, training event or catalog entry does not automatically award a qualification. Follow your church's verification and renewal process.
Planning Center-managed people
For a campus using one-way Planning Center sync, add the person in Planning Center and sync the campus. Direct additions to a Planning Center-managed campus require supported two-way sync and selection of the mapped Planning Center position. Some linked identity fields are maintained in Planning Center while Vigilant role and local profile fields remain separate.
Follow up on invitations
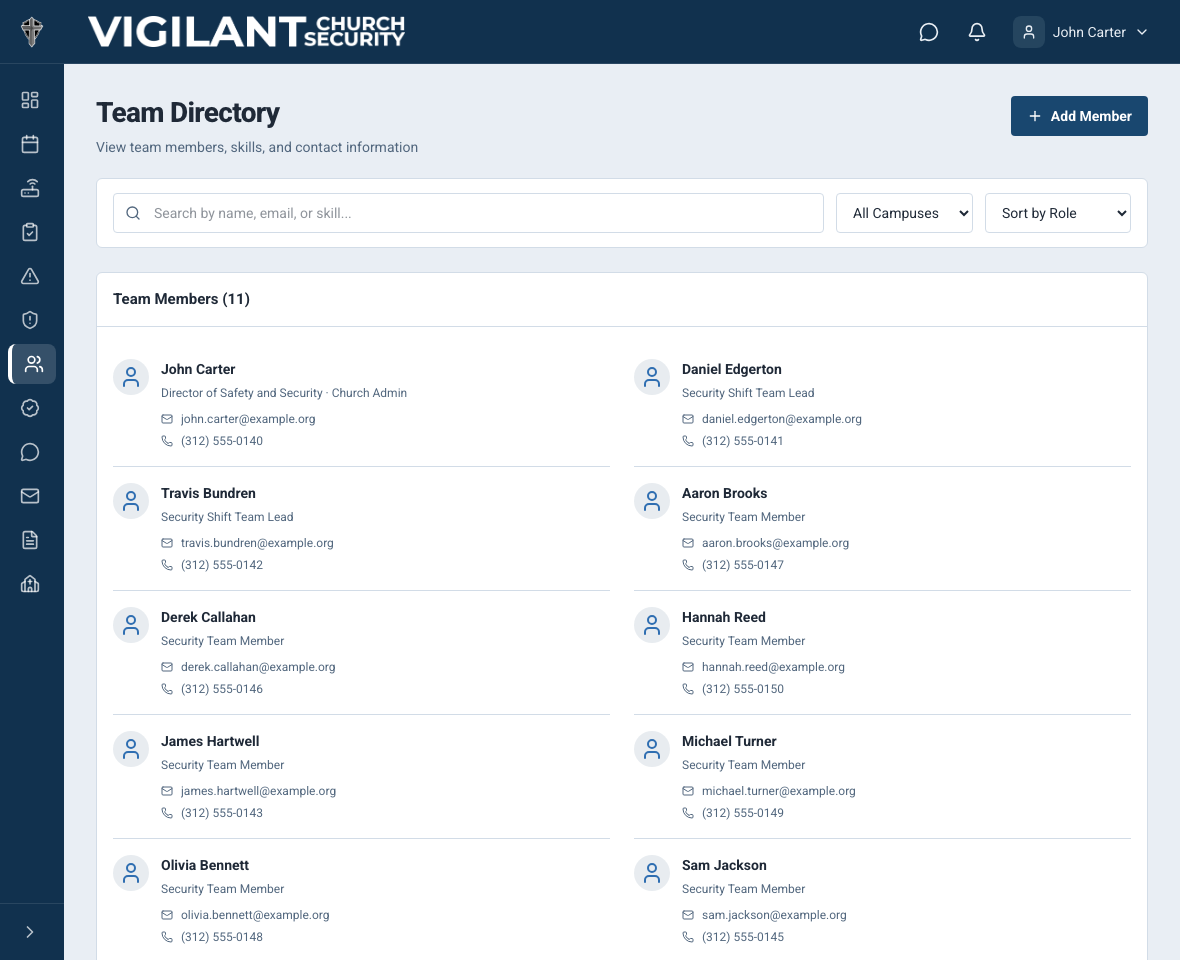
Open the member's edit form to correct permitted details or resend a pending invitation. Ask the person to use the latest email and follow Accept an Invitation. Existing Vigilant accounts confirm their current password and MFA instead of creating another identity.
If an invitation is blocked, check the email, role, campus, plan capacity and Planning Center mode. Pending memberships can count toward capacity even before the person signs in. Do not keep submitting the form after an uncertain response; check Team first.

Example shown with fictional demo data. View full-size screenshot.
If this email already has a removed membership
Vigilant keeps the person's saved church profile after removal. An authorized administrator can enter the same email through Add Member and use Restore member or Send new invitation when offered. Recovery uses the saved profile, not the new form values. Open the restored profile to review the role and reassign a campus. Follow How to Remove a Team Member for the recovery steps.